Working in the Studio

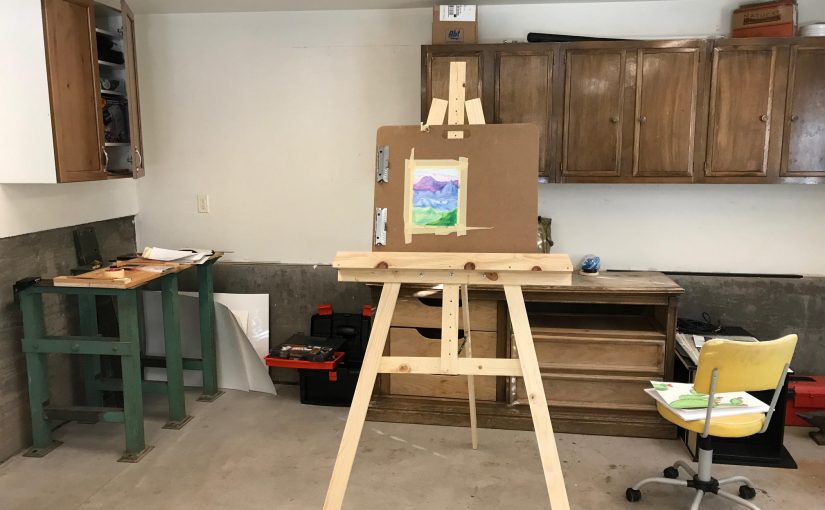
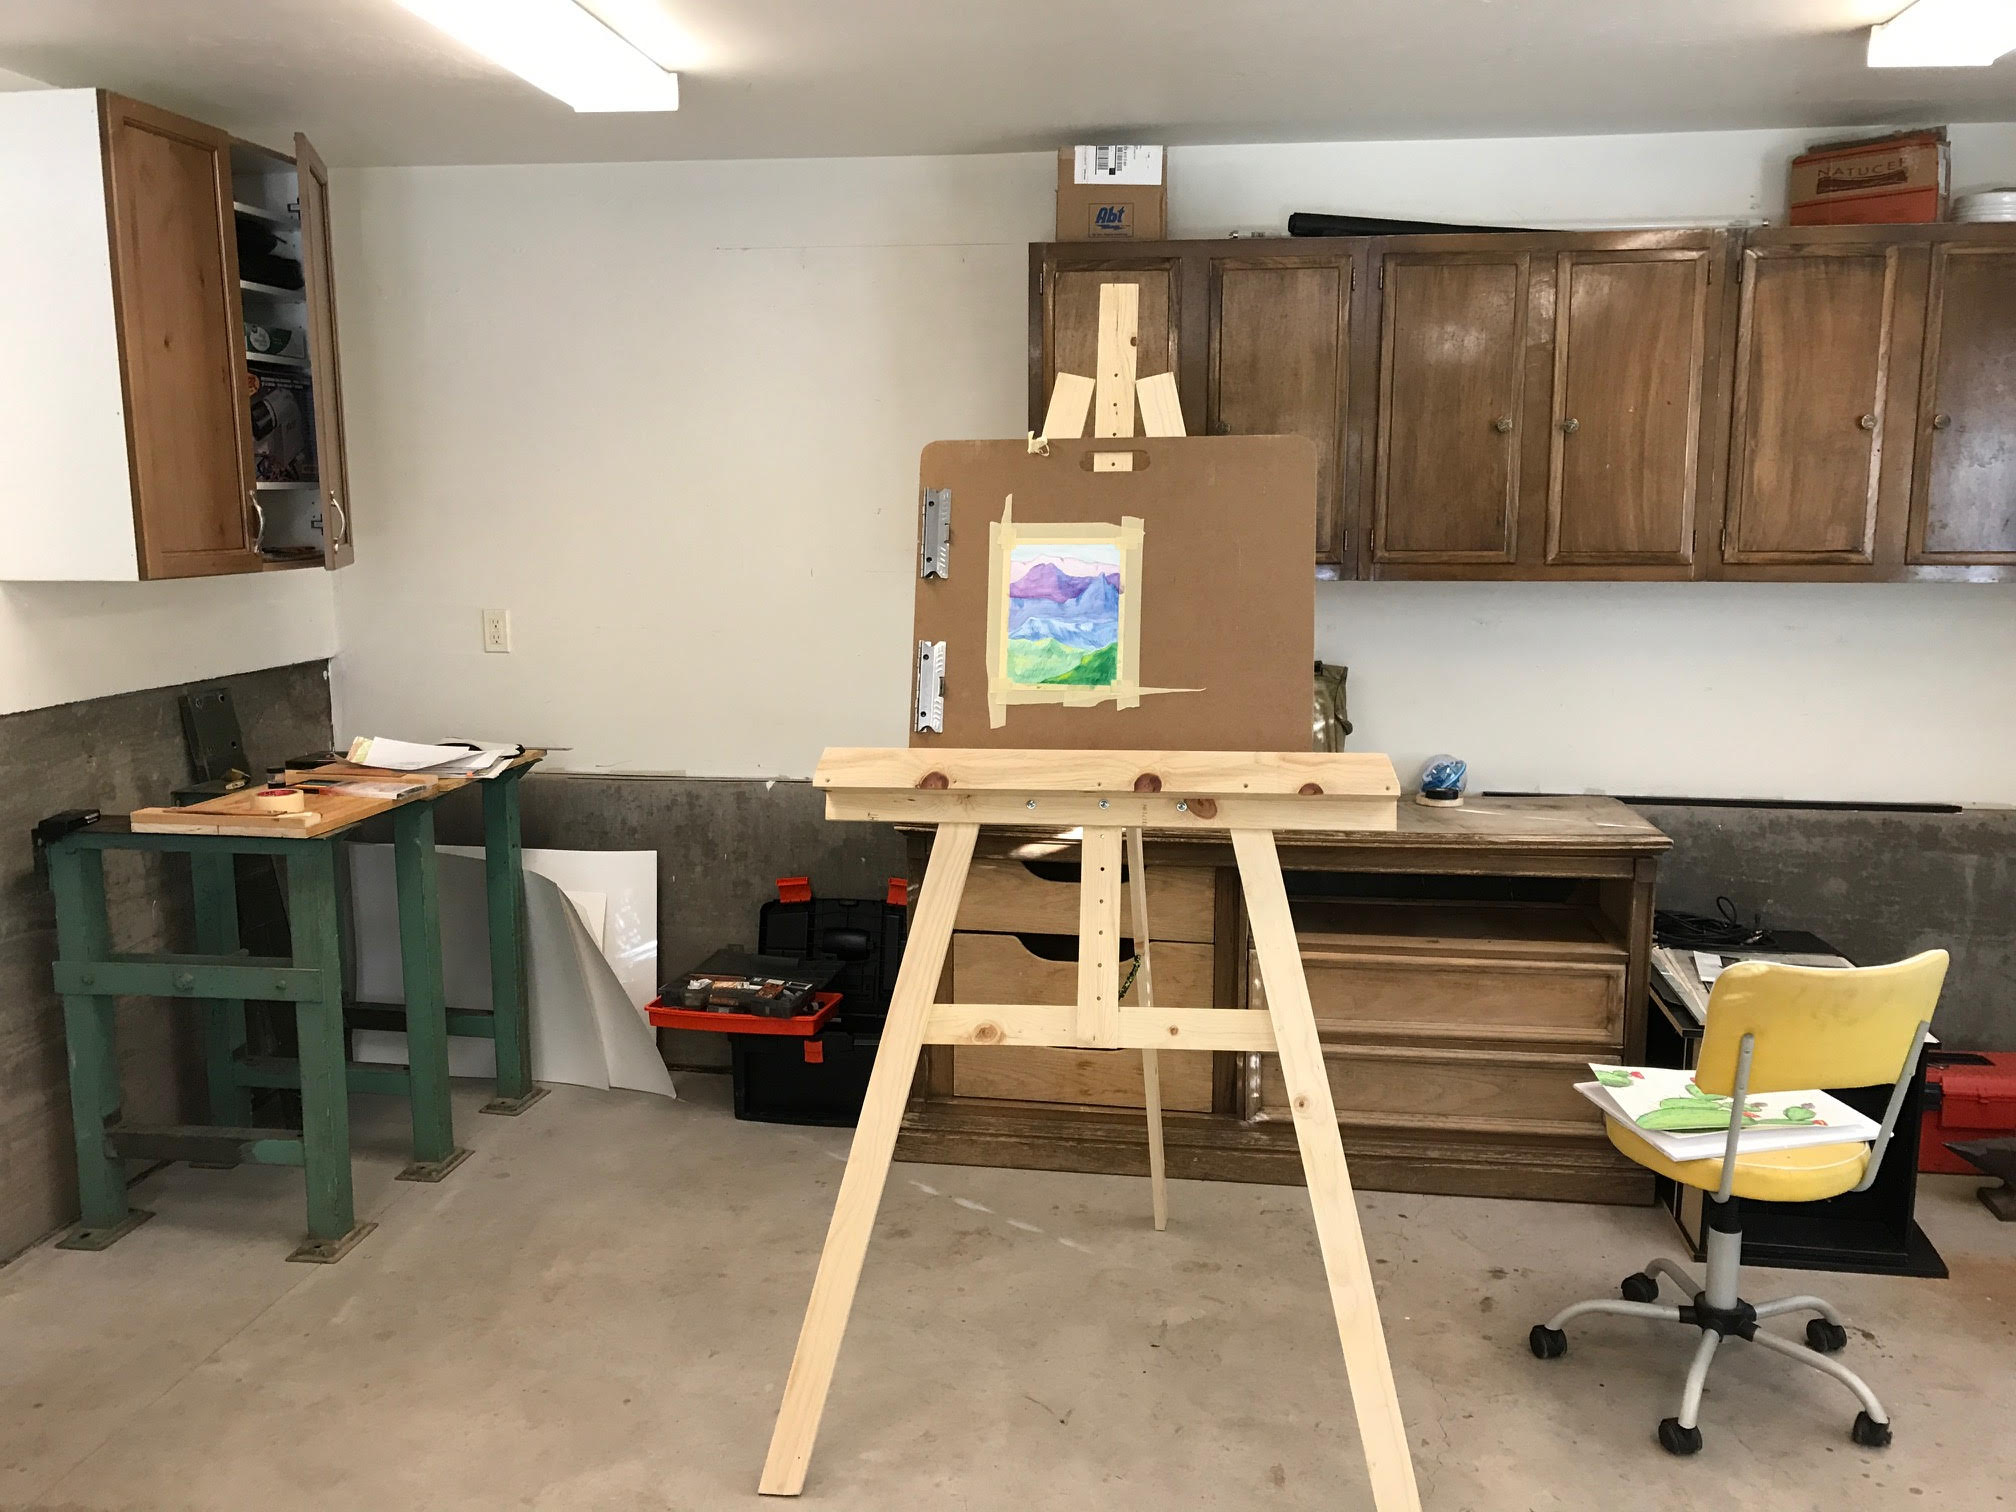
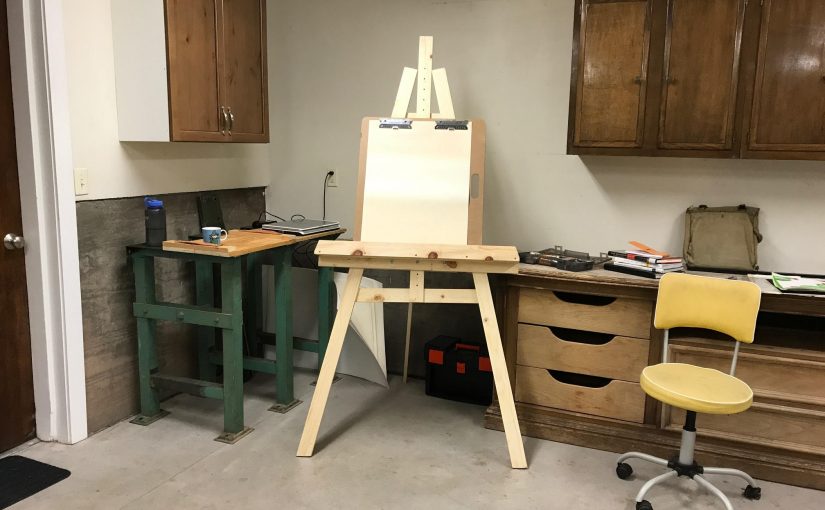
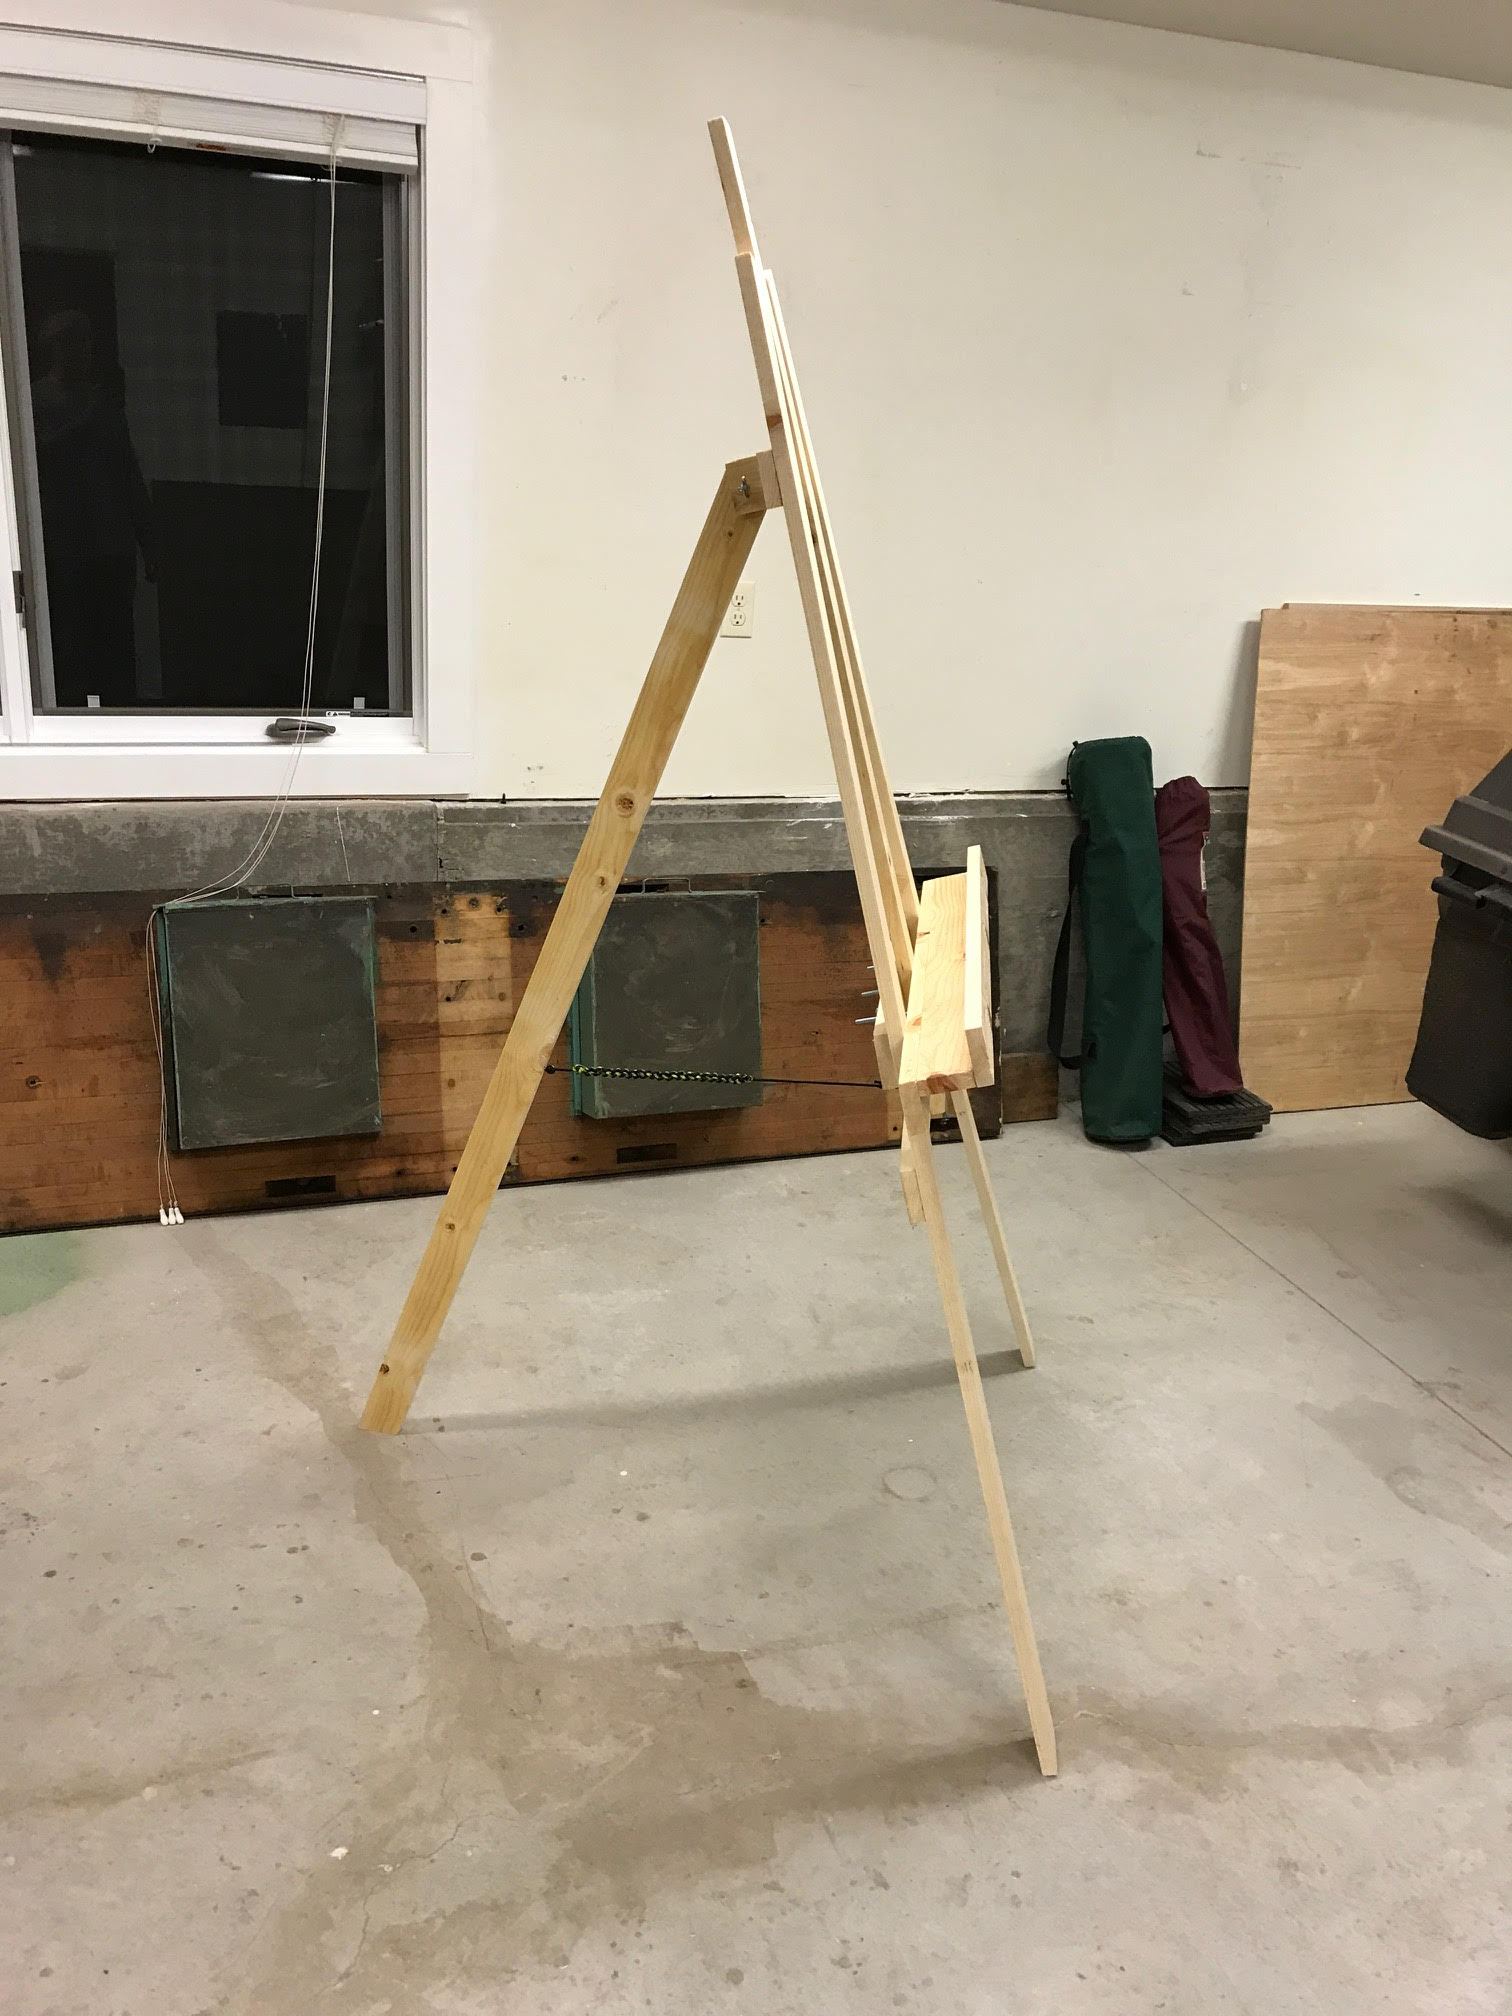
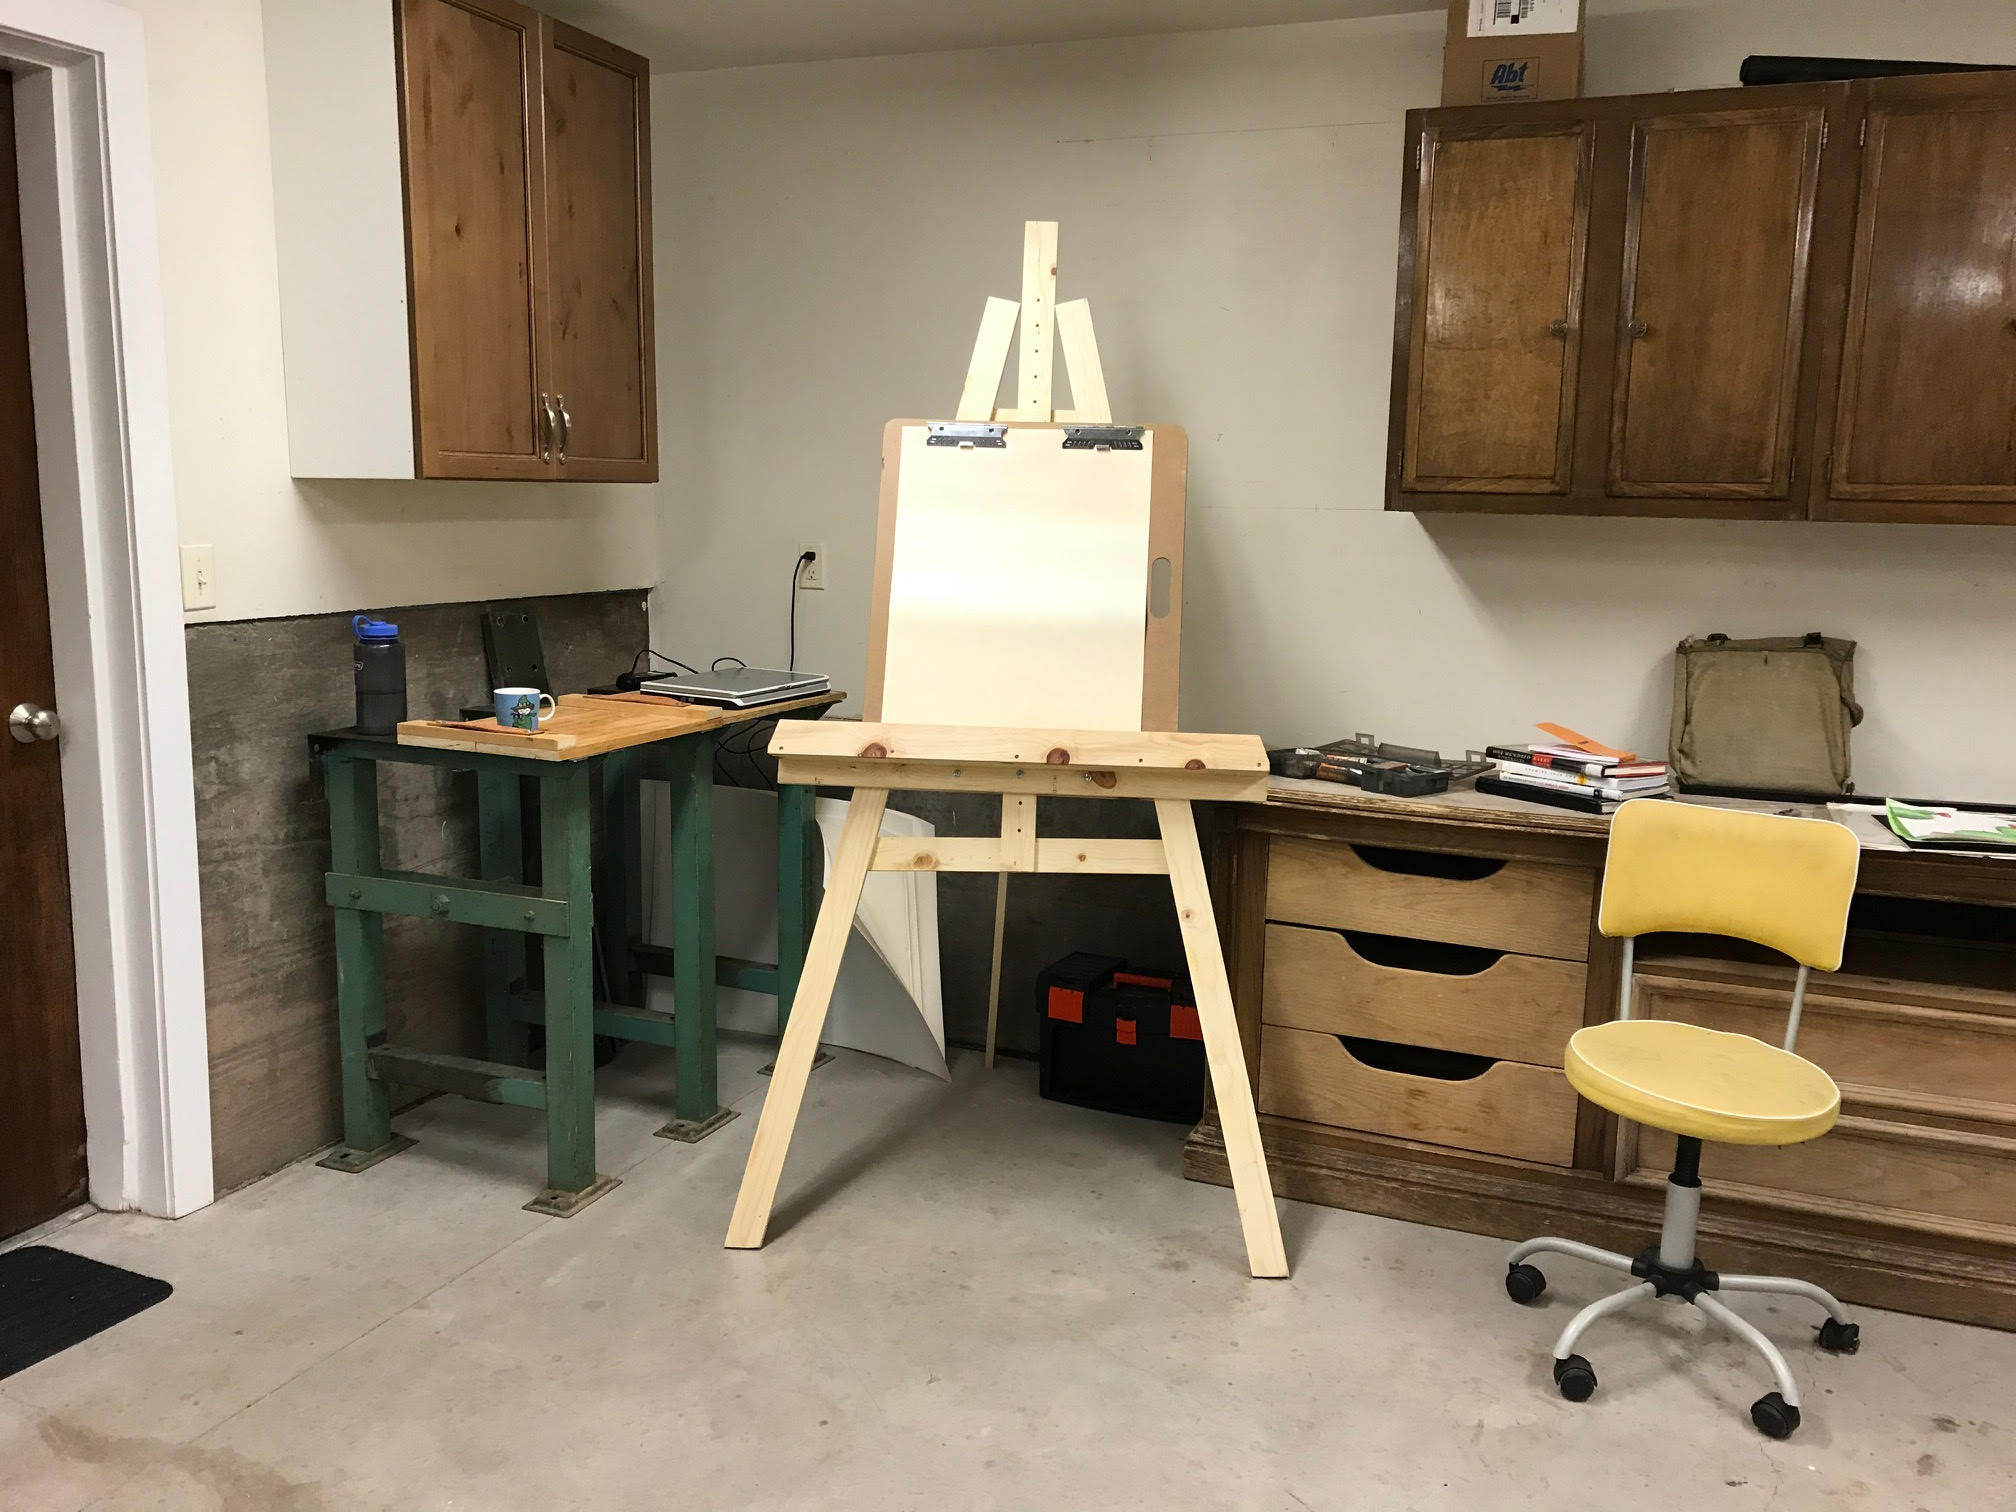
After building my easel and setting up a studio space, I didn’t get around to working in it for a couple of weeks. But this morning I jumped up when the alarm went off and headed out with coffee mug in hand.

Since I was working with watercolor pencils and had to wait for each layer to dry I bounced between two different projects.

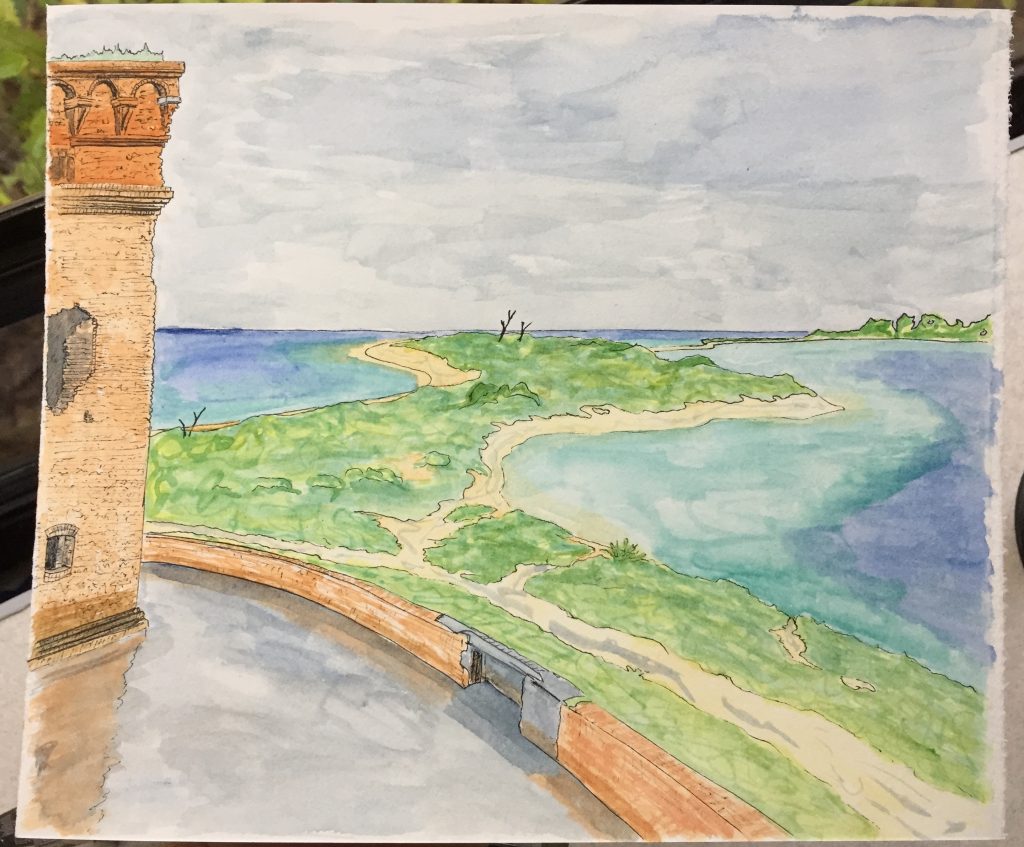
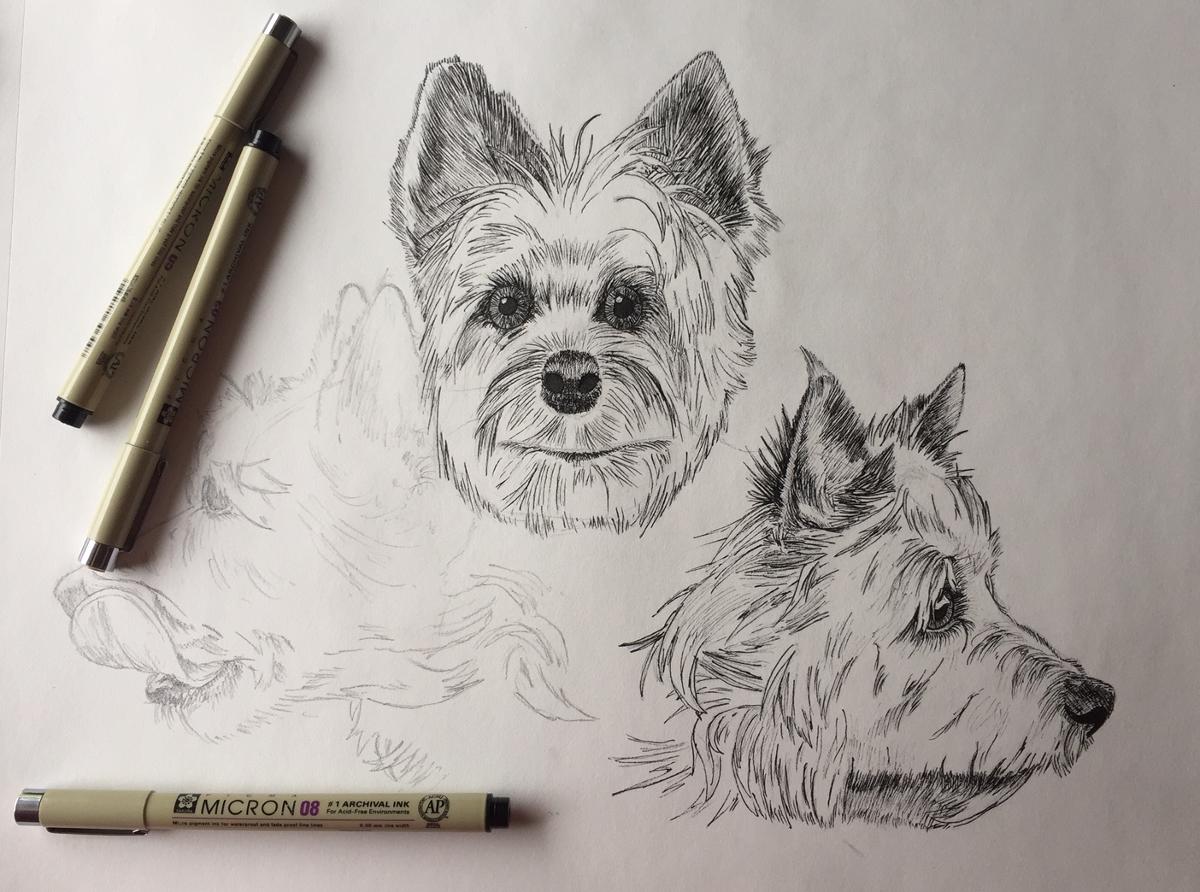
Here’s the watercolor on the easel:

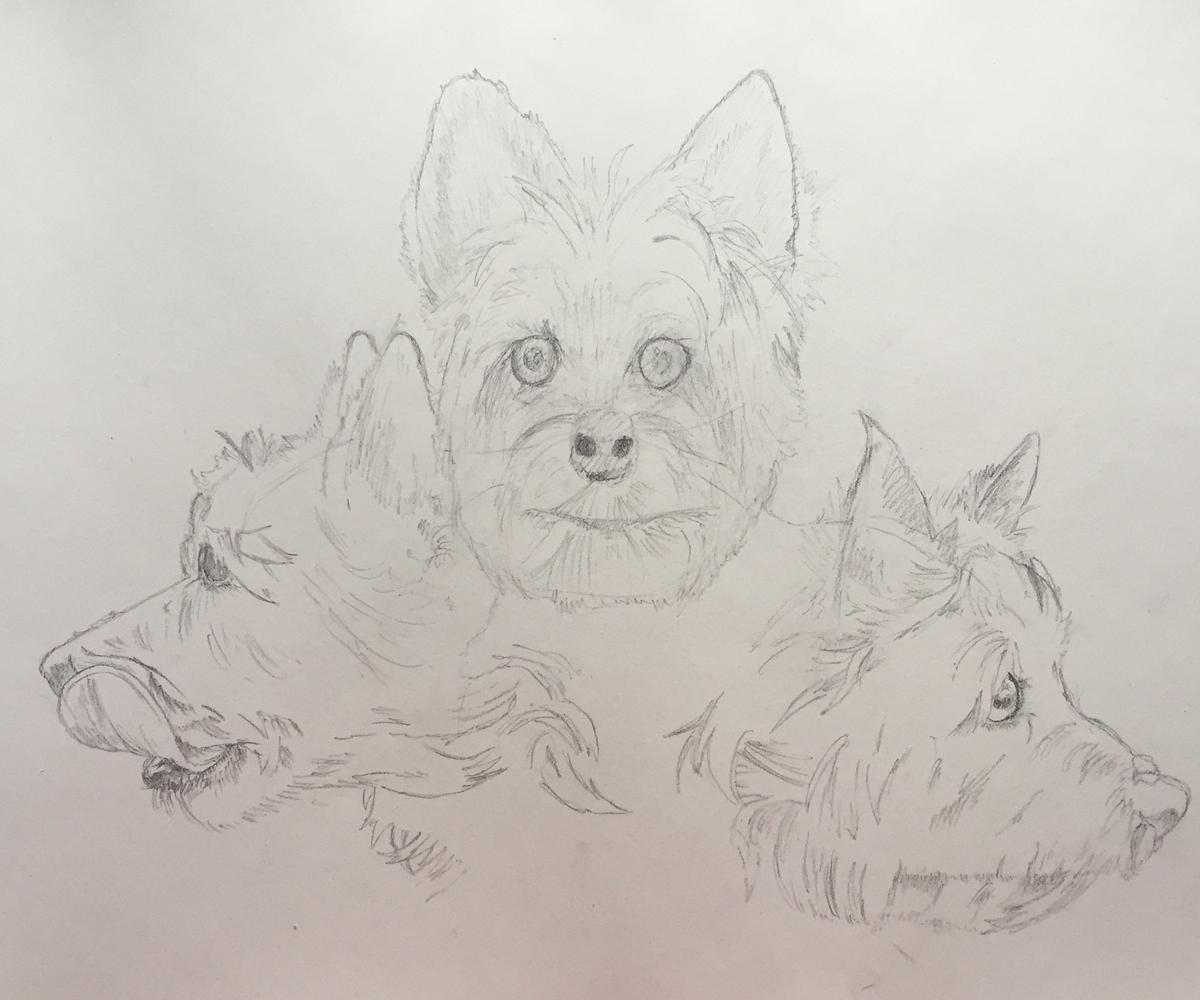
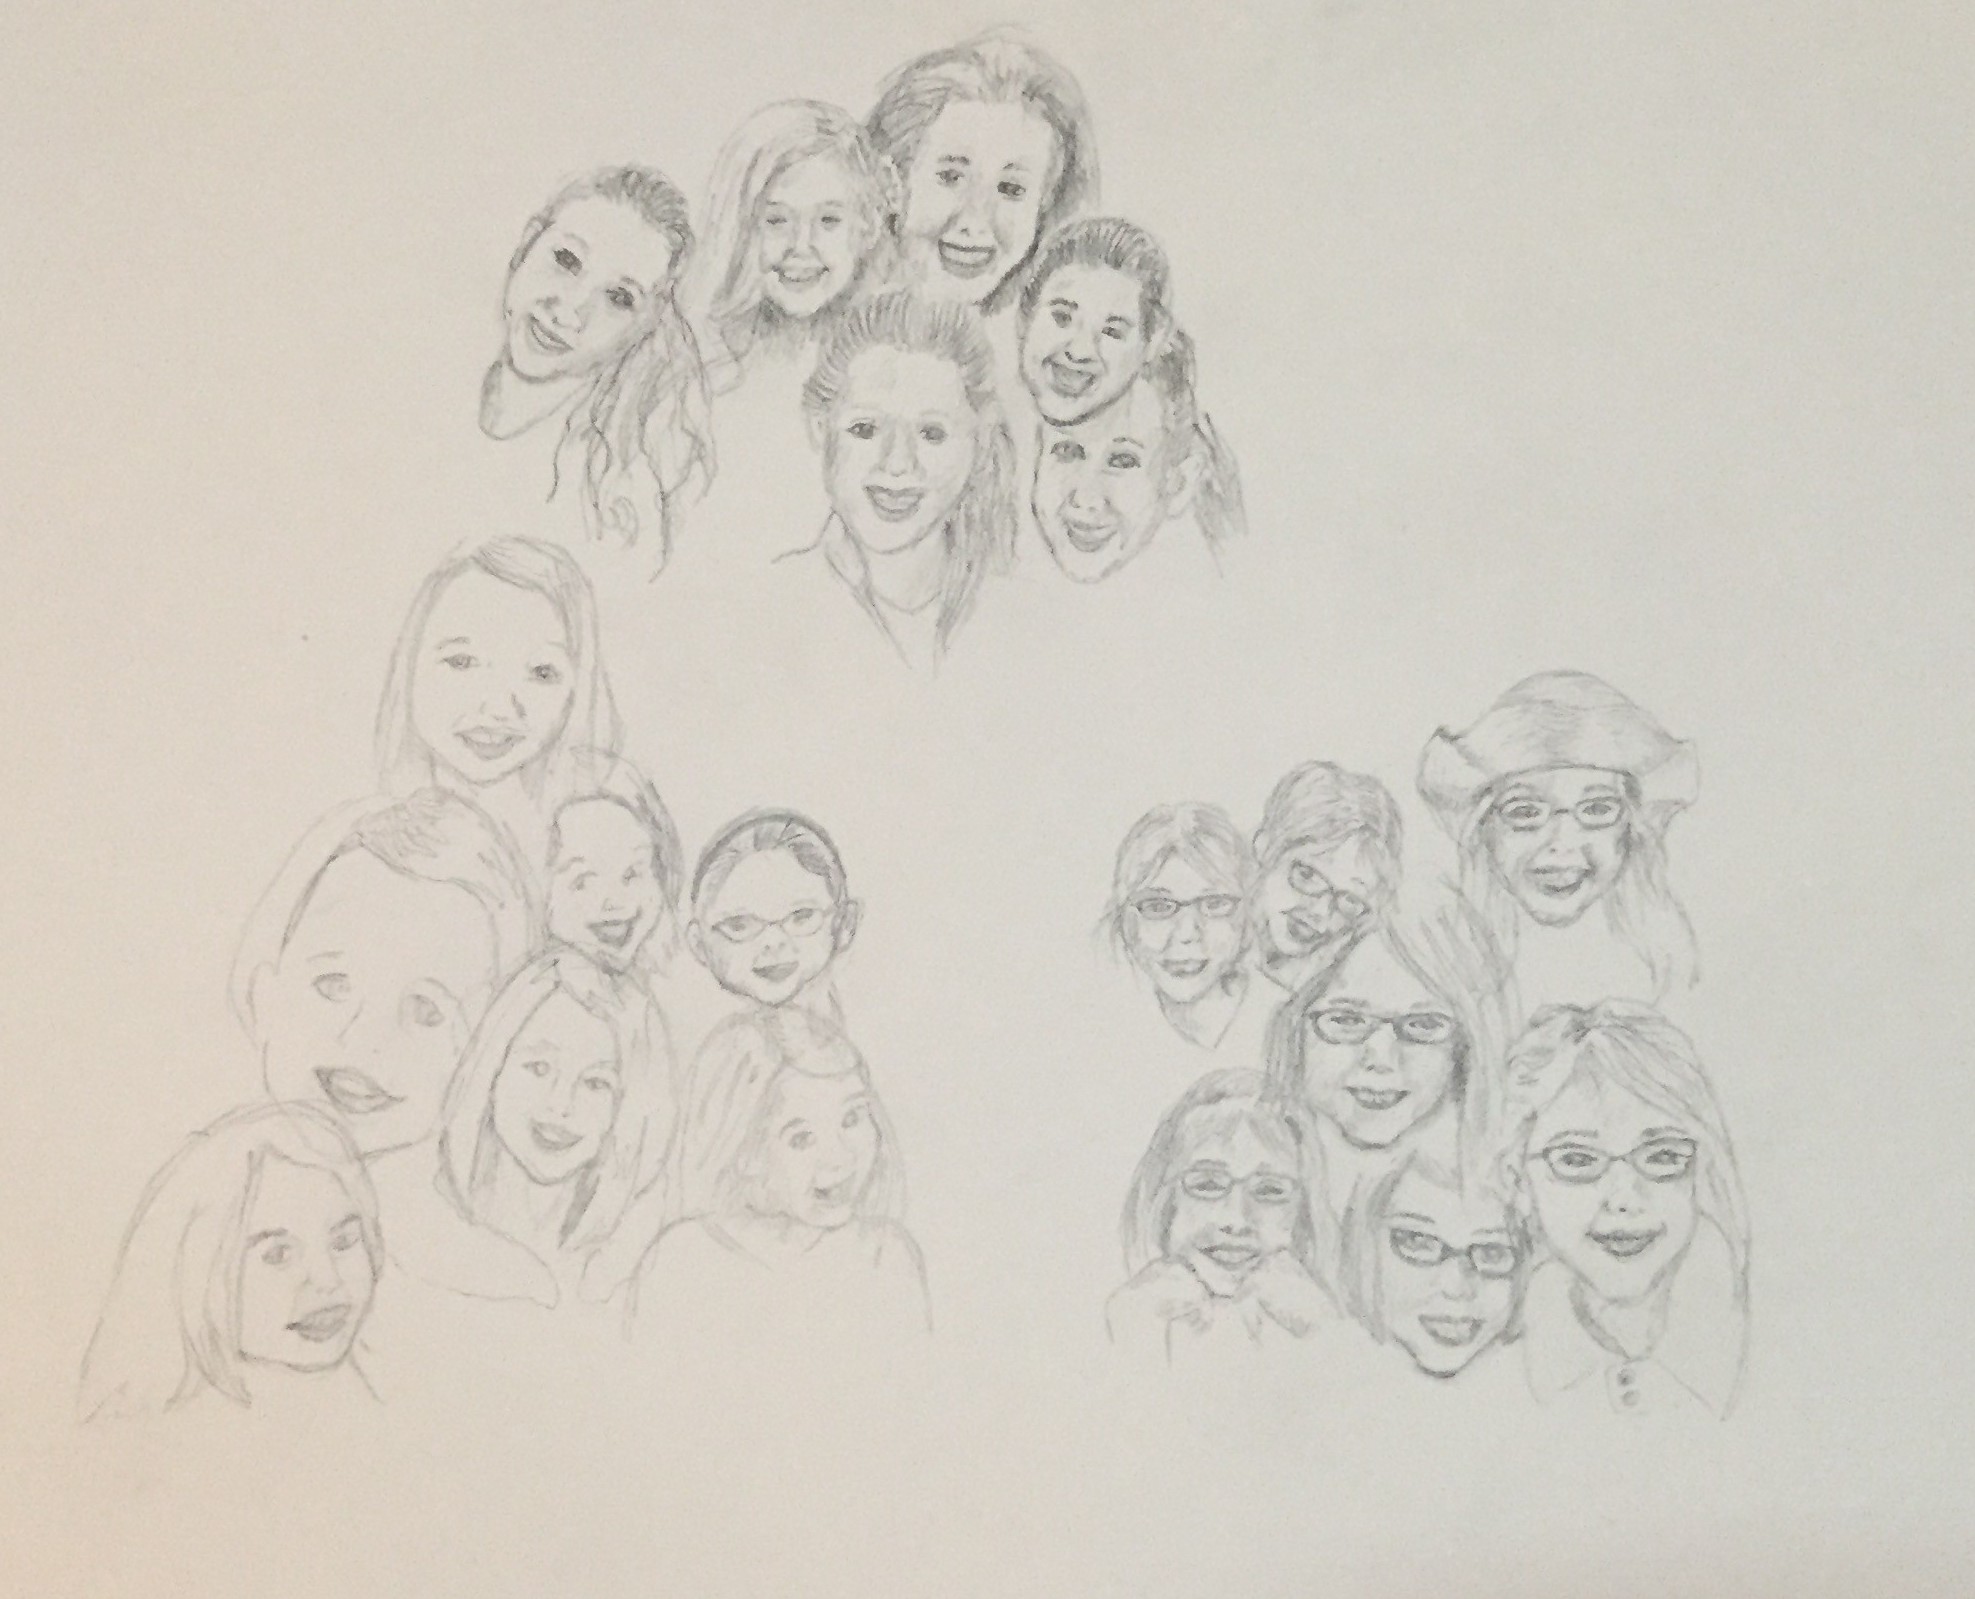
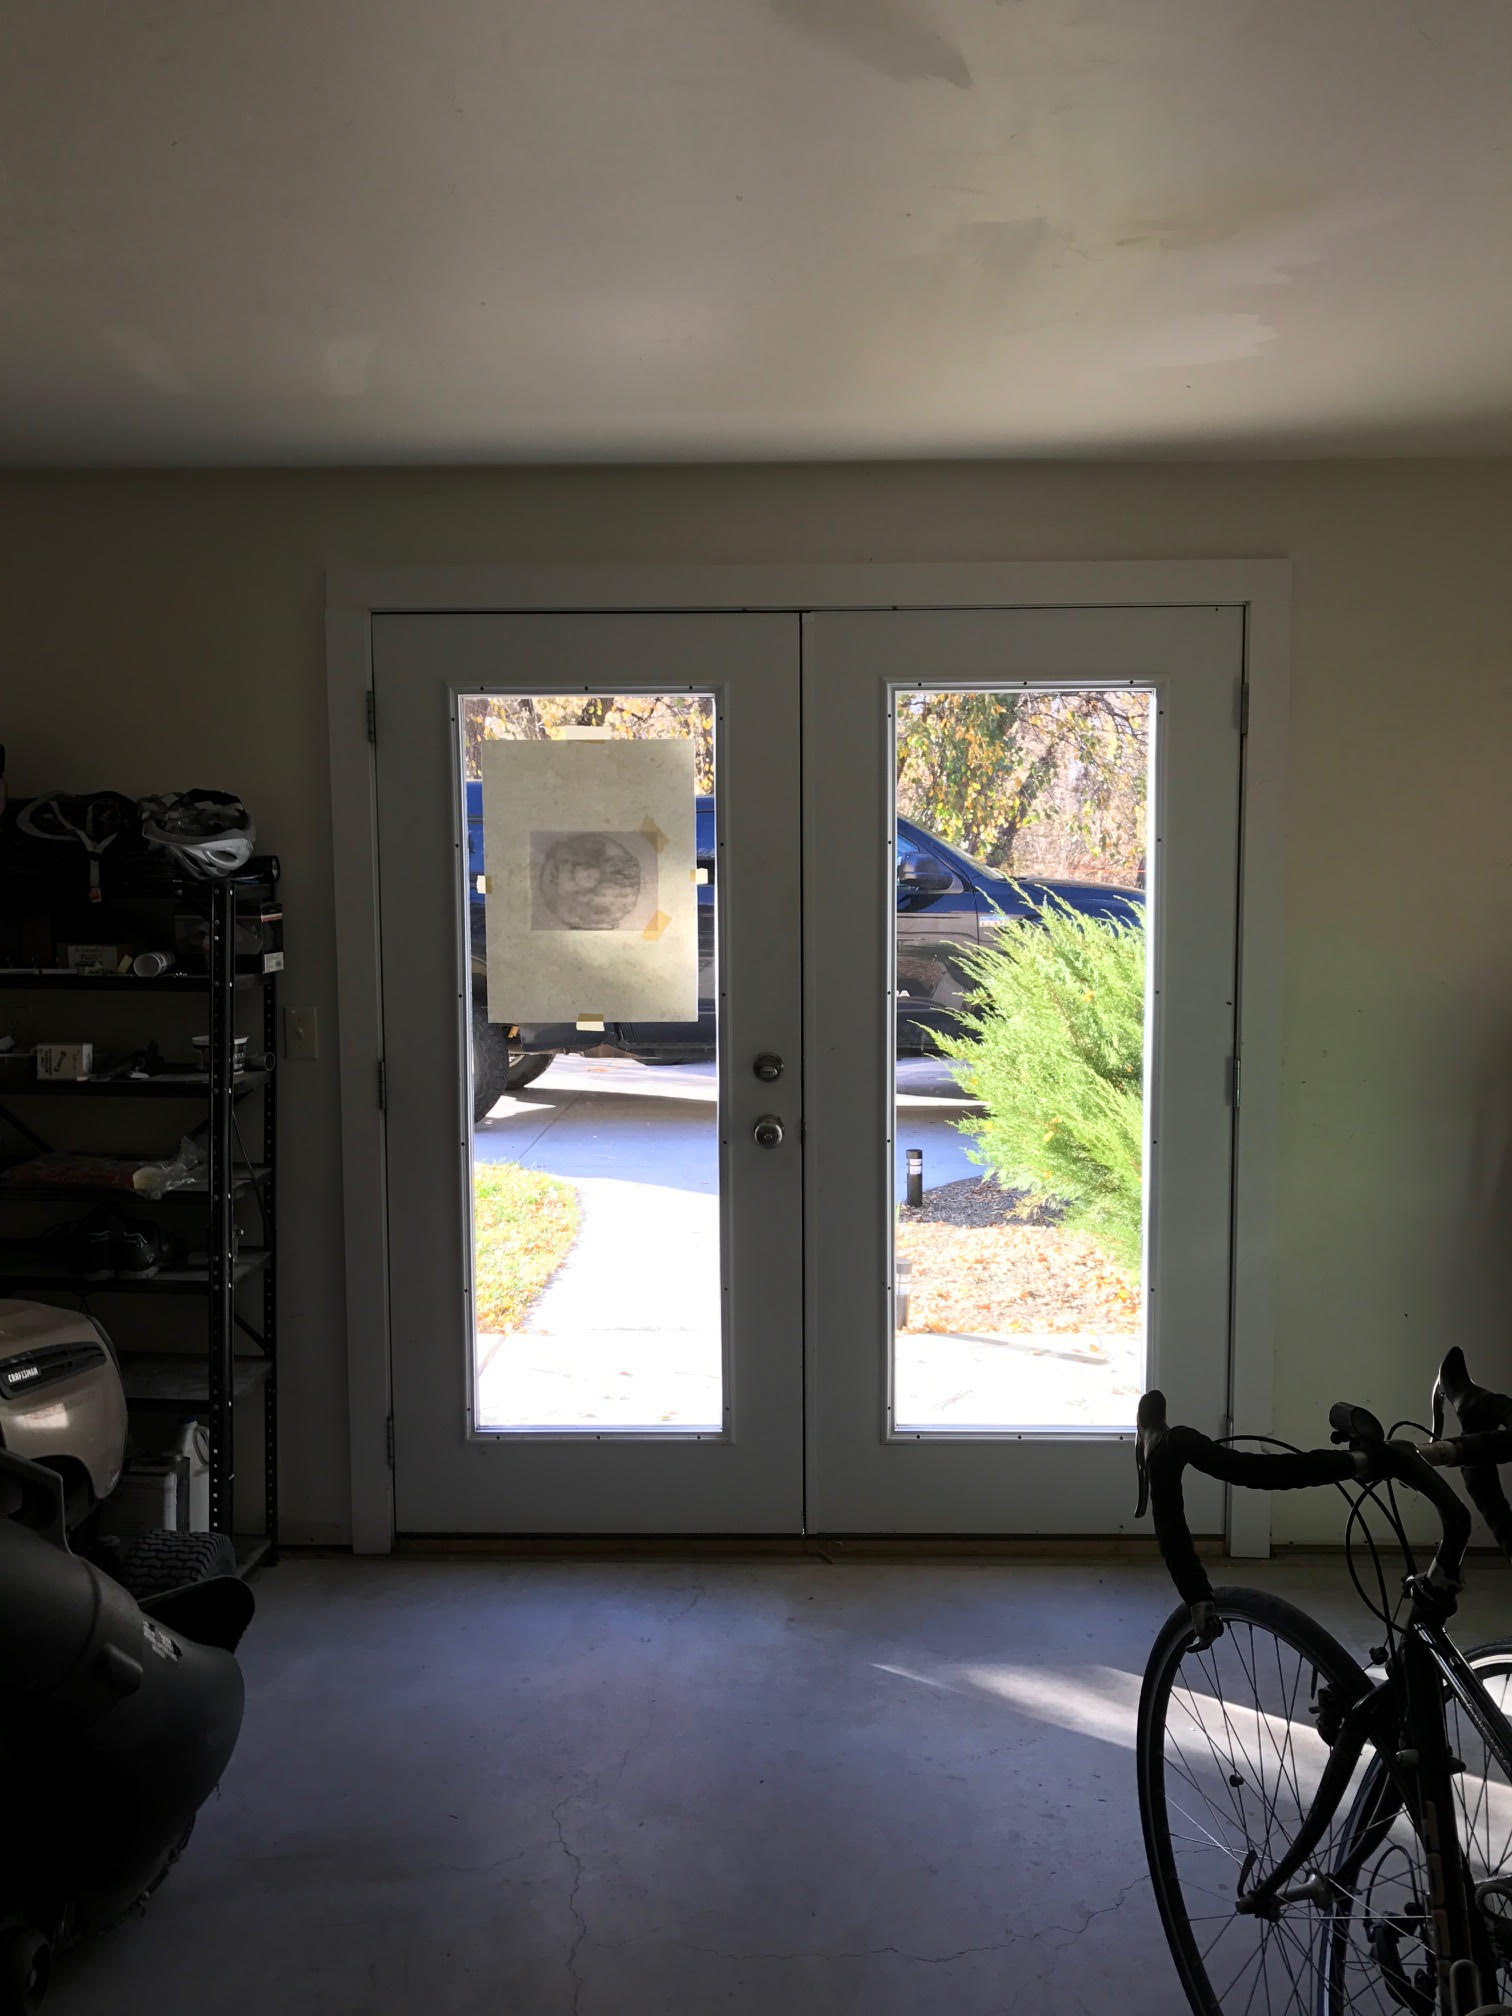
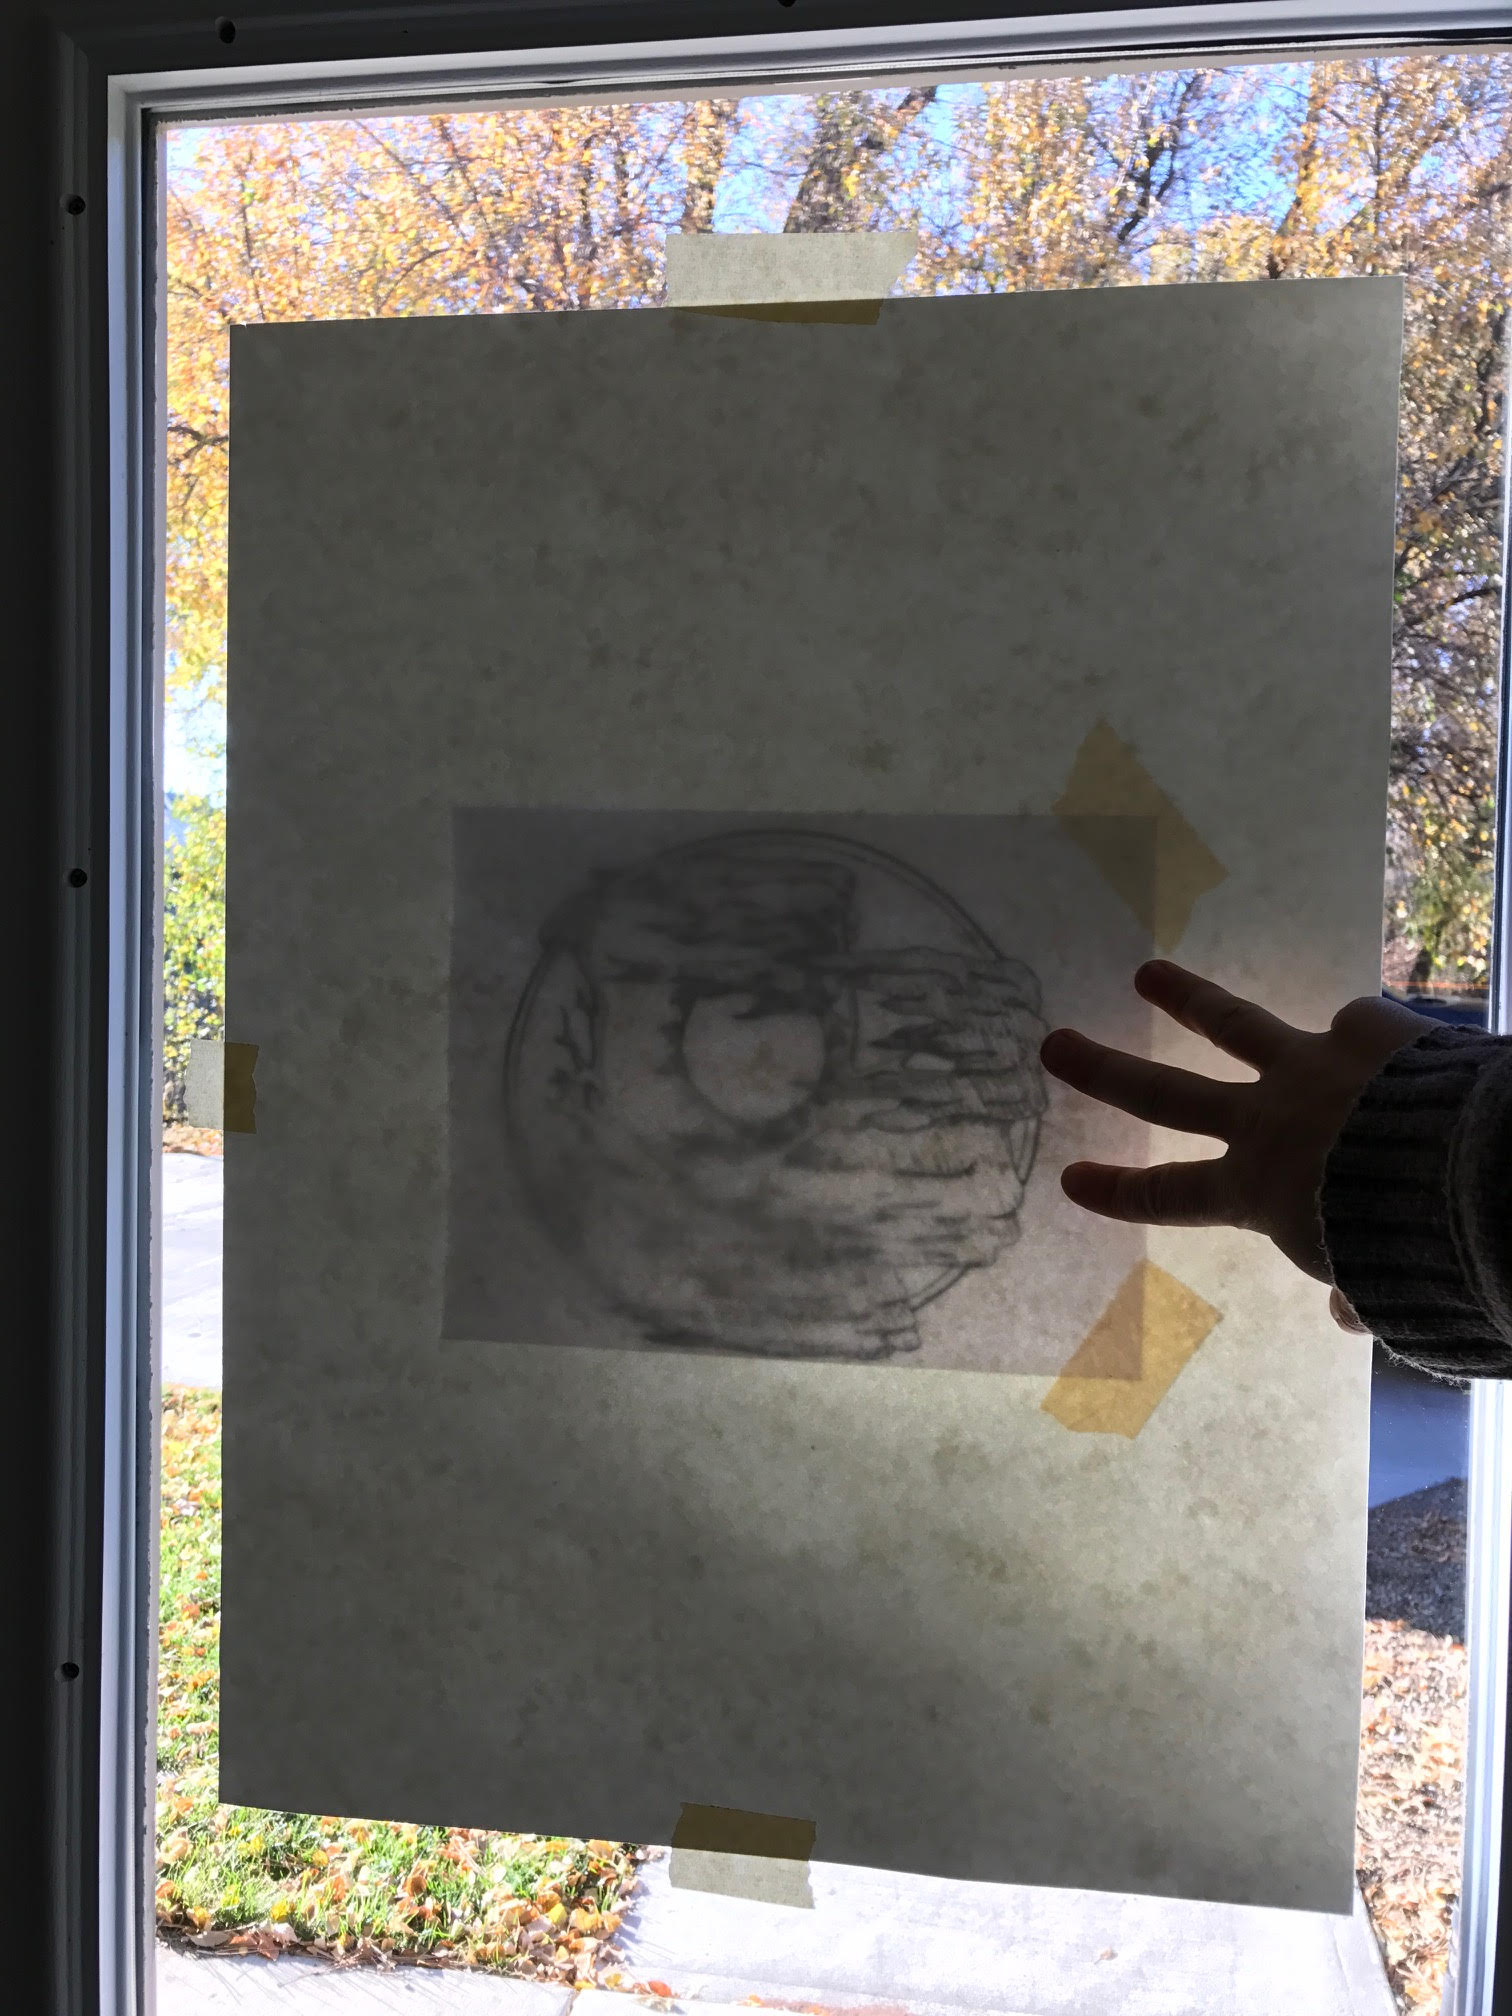
While it’s drying, I cut down a larger sheet of paper and then centered my Tree of Life drawing inside it and taped it to the window with the sun shining directly on it. Sometimes, having a free lightbox is just an amazing convenience!

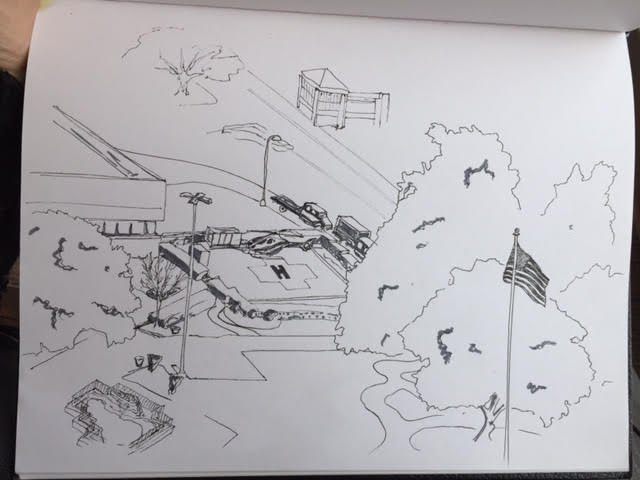
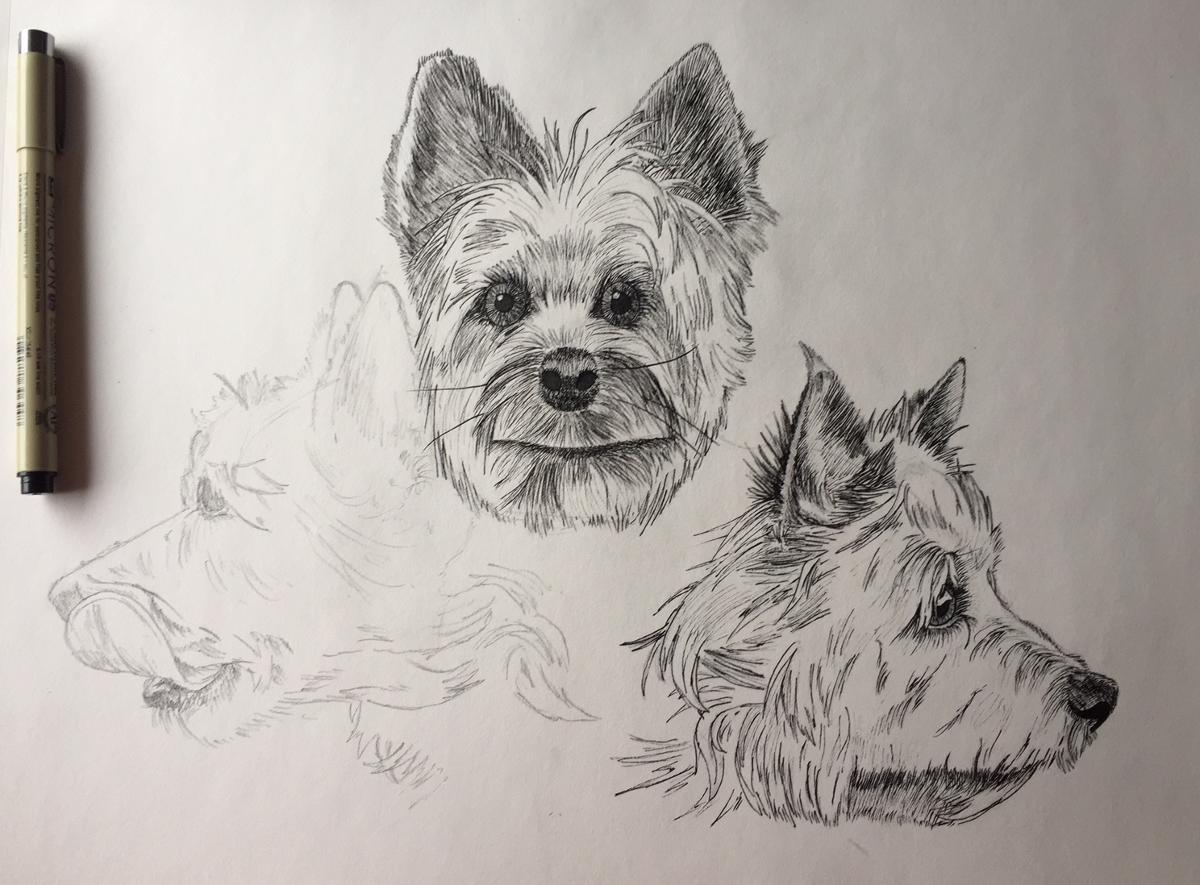
And here it is once I finished transferring it to the larger paper:

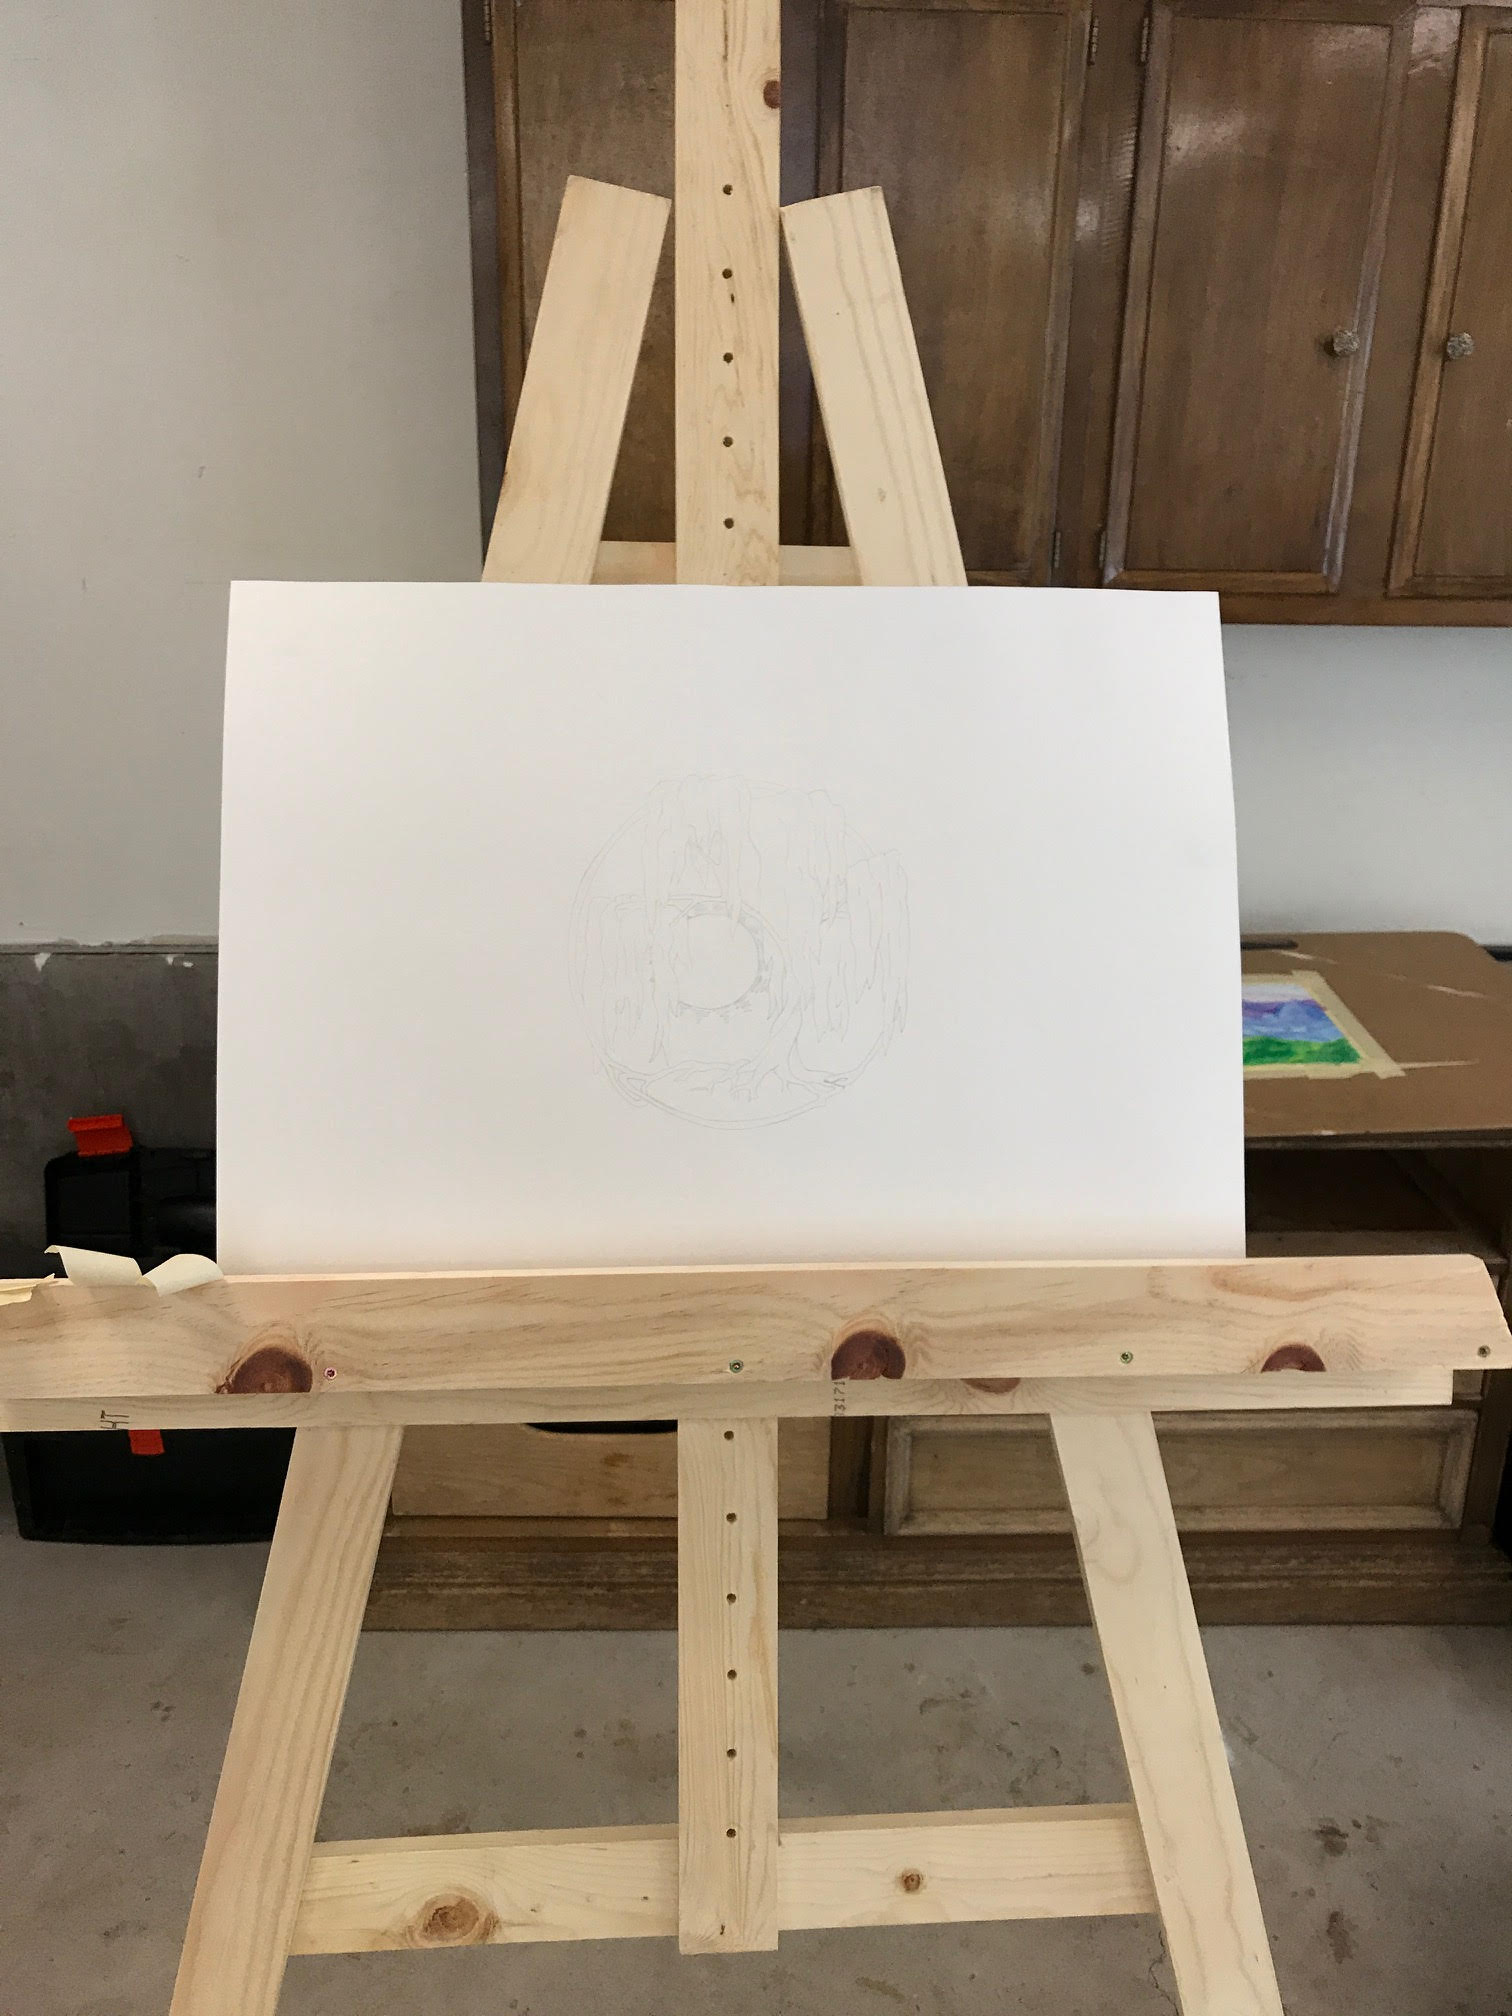
Good progress made before heading off to work. I call that a creative success!

Studio Creating

One of the perks of moving out of the RV into an apartment was the chance for me to set up a studio space. I really lucked out with the new place, since it not only has an un-used bedroom but also a shop space with plenty of empty cabinets on the walls!

Here’s the original set-up:

And the current configuration, with my “studio” growing in the corner.

After much debate and research I decided to build an easel instead of purchasing one. This would give me a sturdier, more adjustable product for only a slightly greater cost. Here’s most of the components laid out, waiting to be attached together:

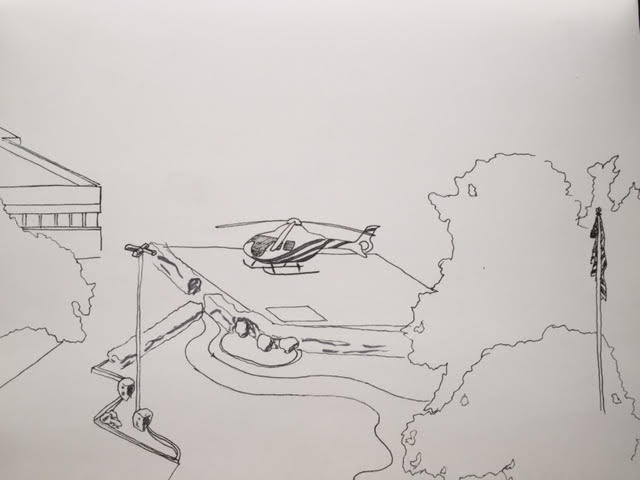
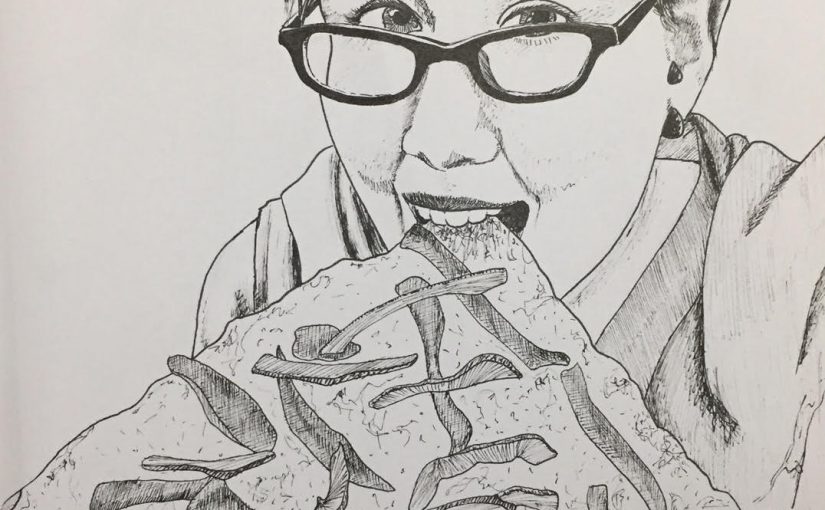
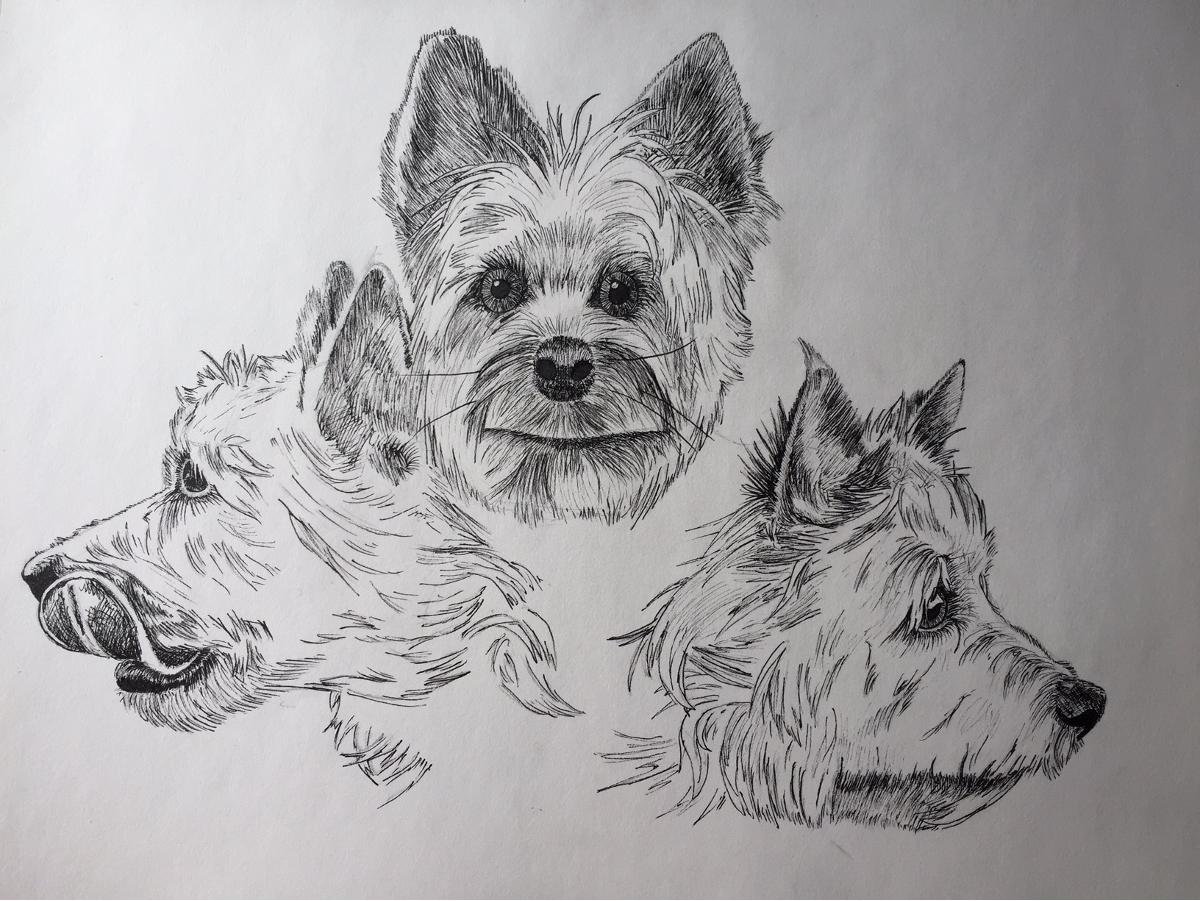
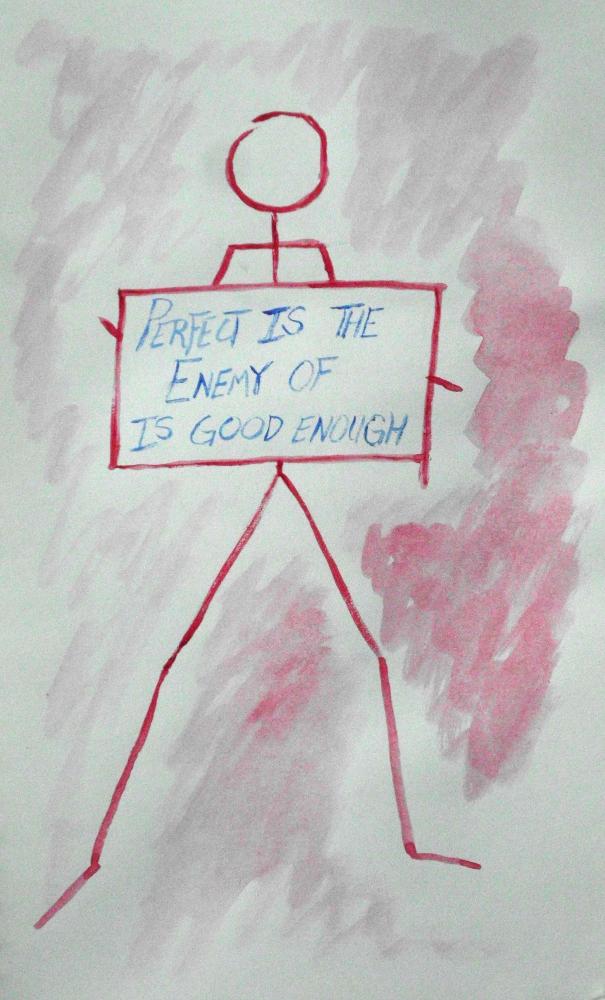
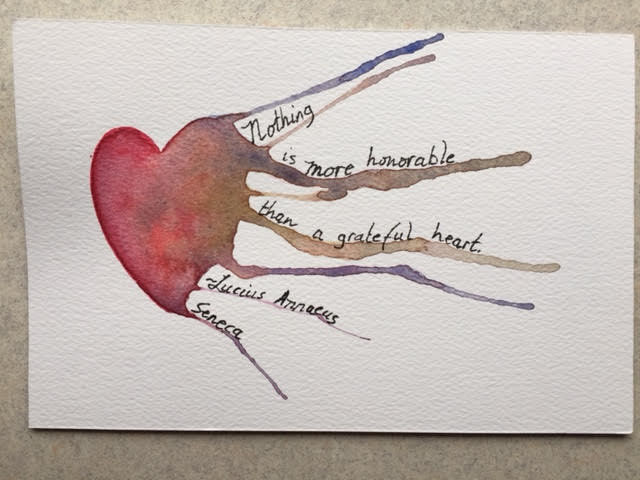
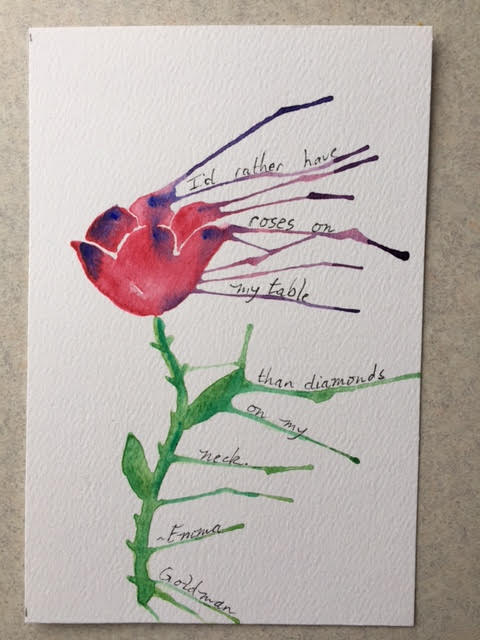
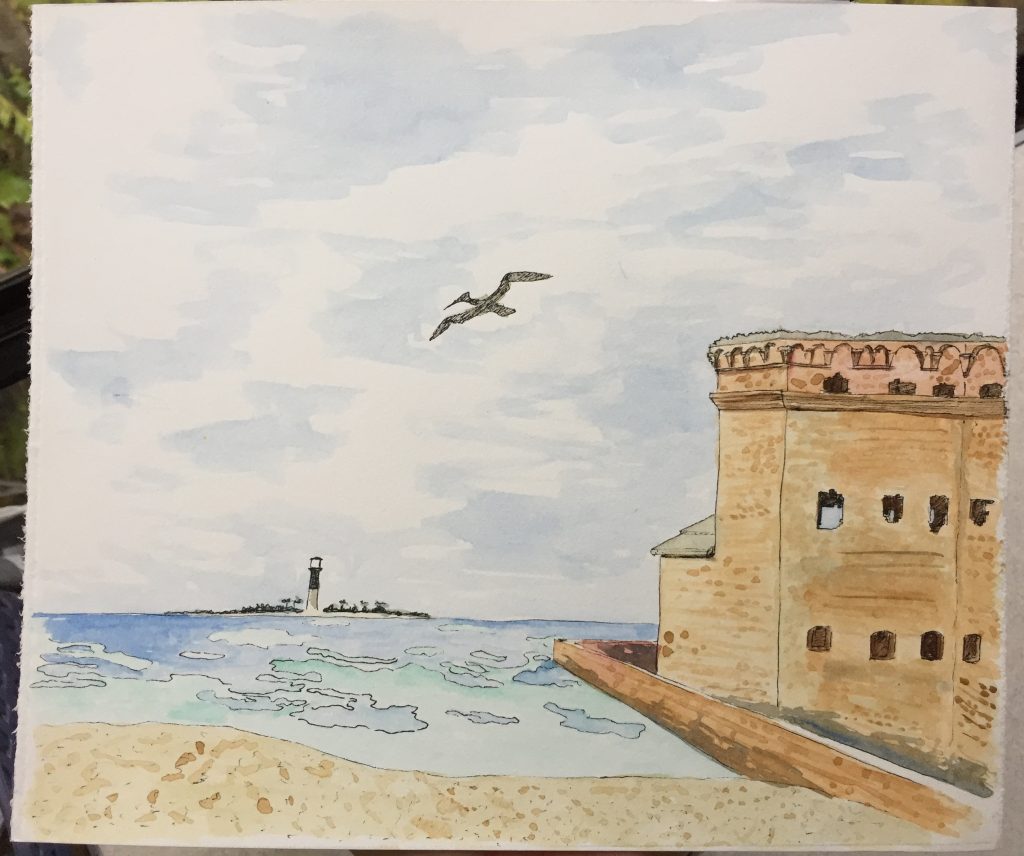
And here’s the completed product, ready to go:

I really should stain or seal it, but I’d rather be painting on the easel, rather then the easel itself!

Here are the plans that I used, if you’re interested in one for yourself. It cost me more than the $15 mentioned in that post, but I don’t think it was much more than $30. There are a lot of different designs and plans out there, but the back leg on this one folds in so it will store fairly flat and that convenience may be pretty nice in the future!

Here is the first work that I did on it…

Words and Watercolors

I’ve always loved the intersection of pictures and quotes (the stick figures series is a prime example). So when I stumbled across a new drawing-plus-quotes project while reading a watercolor book, I couldn’t wait to try it!

Not only do I get to peruse my quote collection, but I got to try out a new watercolor technique. Win, win!

The heart and rose are on post-card sized watercolor paper. After finishing the painting I added in the quote with a drawing pen.


Ashley on her bicycle was the first painting that I did in this line. It’s not yet complete, as I haven’t yet added in a fitting quote – though I do have a couple of them picked out. This is a larger work, nearly 8×10″.

Not sure what happened with that “antenna” sprouting up out of Ashley’s head – re-painting the image will give me more practice with the procedure and the materials and hopefully end up more as I intended it. 😀

Painting in Dry Tortugas

While I spent most of my time in Dry Tortugas sketching, I did complete some watercolors as well.

For the first I sat on the beach and sketched out the nearby lighthouse, with the fort nearby for scale.

With the sketch completed, I tried to capture the amazing colors in the water and the textures of the clouds in the sky. There were pelicans cruising by, scouting for fish. 
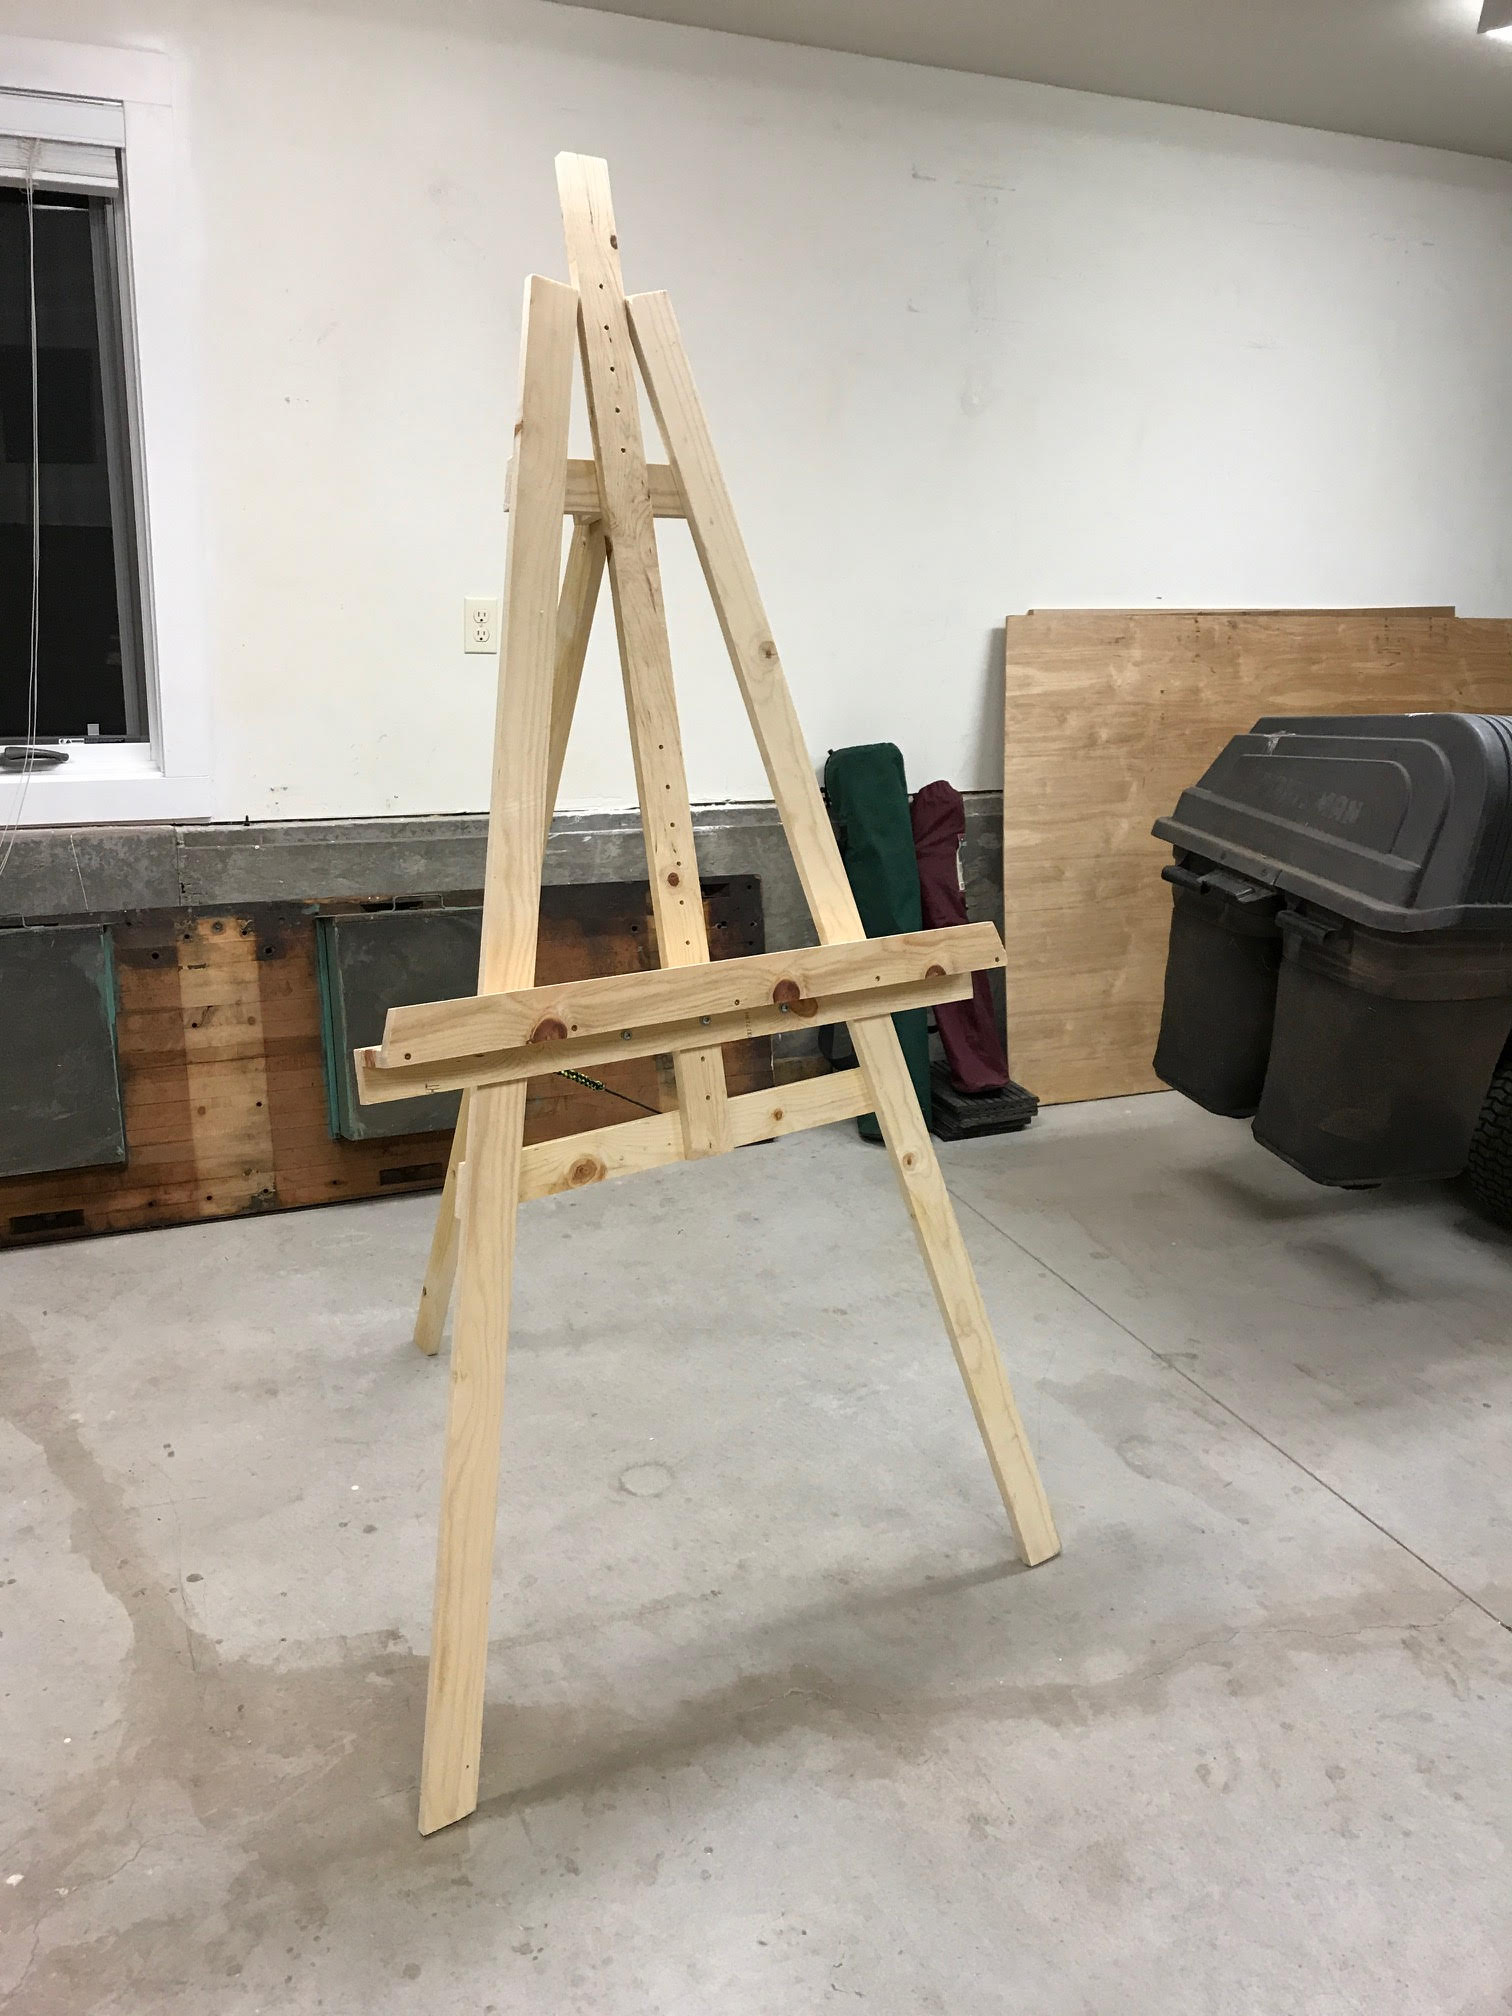
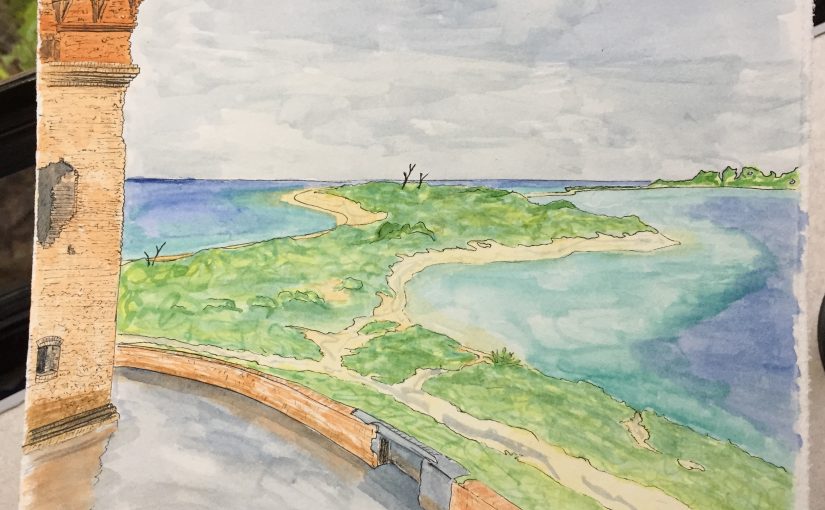
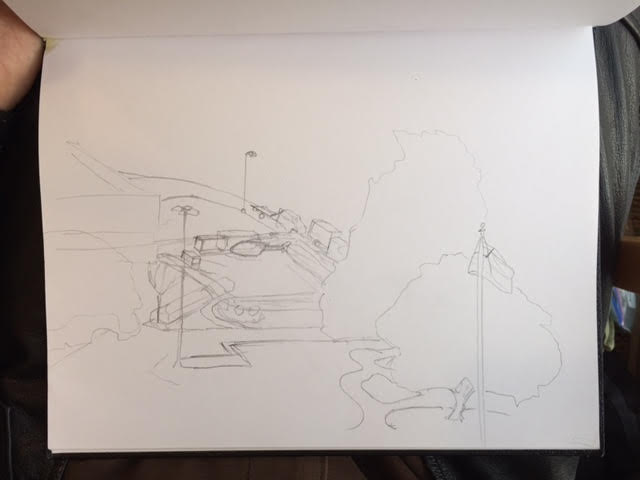
On the rainy morning, I went up to the second floor and found a comfortable spot looking out a window over the keys. A corner of a fort’s bastion provided an interesting contrast to the organic expanse of the water and keys themselves. I didn’t actually add any paint until later in the day, but the color of the water was more dramatic with more light so I’m glad that I waited.


Hospital Helicopters

With a week to go till the end of her contract, Ashley recommended a new place to wait as she finishes up her shifts at the hospital – a lobby up on the 4th floor which overlooks the main entrance and the helicopter landing pad.

I was only able to make it up there twice for a sketching session. Both times I opted to draw the same view, focusing on the helicopter.

Here’s the first sketch, in pencil and then finished with ink and marker:


After the fact, I realized that I spent too much time worrying about the dimensions of different components (which didn’t turn out accurate anyway!) and ended up with a stiff drawing. No sense of flow, no energy or life. Plus, if you don’t already have an image of the area in mind, it’s a bit hard to visualize.

So my focus on the second drawing was to capture more of the area and loosen up a bit.

Again, here’s the pencil sketch and then the finished ink and marker version. (It’s all one image, I simply do a quick sketch in pencil then ink over top of it, erase the graphite, and then add shadows with the marker.)


I think that this was a much more successful sketch – with everything fitting together better and giving a fuller representation of the view that I saw.

The second was drawn on Ashley’s last shift, so there won’t be any more hospital sketches at Cape Fear Valley. Horray for more adventures!

Pizza the Size of Her Head!

Checking in on friends on facebook, I ran across this picture of Emily. Thought it was fun and decided to draw it. Emily, hope you enjoy! 😀


And here are a couple of in-progress pictures:

First, the sketch in pencil, to help me get proportions correct before laying down ink.

The drawing in-progress – Still have to draw the pizza toppings (mostly different pepper slices) and add some depth to her hair.

The Trixie Trilogy

Mom asked for a portrait of her new favorite child, her dog Trixie (a puptrait?) While my sister and I have been replaced -le sigh- at least Trixie is cute. Here’s the process from draft to finished sketch.

I started with pencil in order to work out proportions and general placement – especially with all of the strands of hair, trying to make sure ahem every hair is in it’s place.

Then I pulled out my drawing pens and began to go over the sketch, adding more detail as I went.

While most of the lines are done with an 05 Micron, I also used an 08 for really solid areas like eyes and nose and the 03 for finer details such faint shadows.

Getting closer! Just a few more details, now.

And the final step is to go back and erase the sketch guide-lines so that only the ink remains.

Add a signature, write a note to accompany it, and then carefully pack it and send it on for Mom and Gary to enjoy!