Or, a peek behind the paintbrush
Though they appear simple, there is still a process behind the creation of these stick figures.
It all begins with the quote. When it’s time to sit down and draw I start by pulling up my list of quotes and read through them to find one that jumps out at me. That generally means that as I read it a composition of some sort comes to mind. I can see how a stick figure would interact the quote.
Once I’ve chosen a quote it’s time to start sketching, making sure that the image will actually work. With a pencil and my sketchbook (or whatever paper and writing utensil that I happen to have available) I start trying different configurations of the stick figure and it’s environment. Once one comes together, it’s time to upgrade my materials.
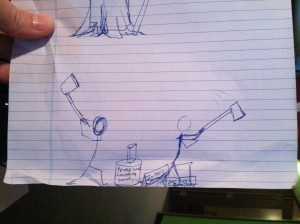
With my sketches as reference I move on to the 8″x10″ watercolor paper. (Watercolor paper is much thicker and heavier than sketch or drawing paper. It is specifically designed to work with the wet watercolor painting method.) Using a soft drawing pencil I sketch out the drawing.
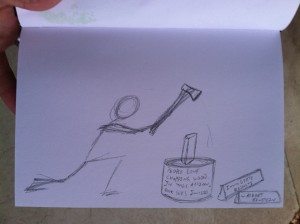
Then with a pen I draw in the inked portions of the drawing. The stick figure, quote, and various environmental props.
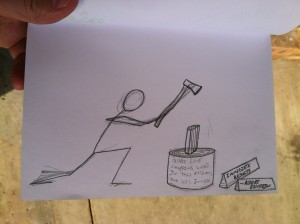
A good white eraser helps me remove the pencil marks and clean up the image.
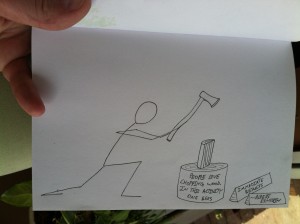
And finally it’s time to add some color. Using the watercolor paintbrush and set I color in sections of the drawing. As a minimalist I always have to make myself come back and add extra layers of color to the image, it’s easy for me to think that it looks fine without them.
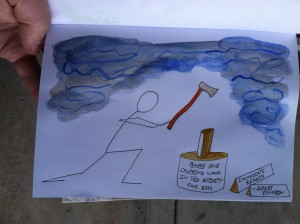
A few last touches and it’s ready to go.
